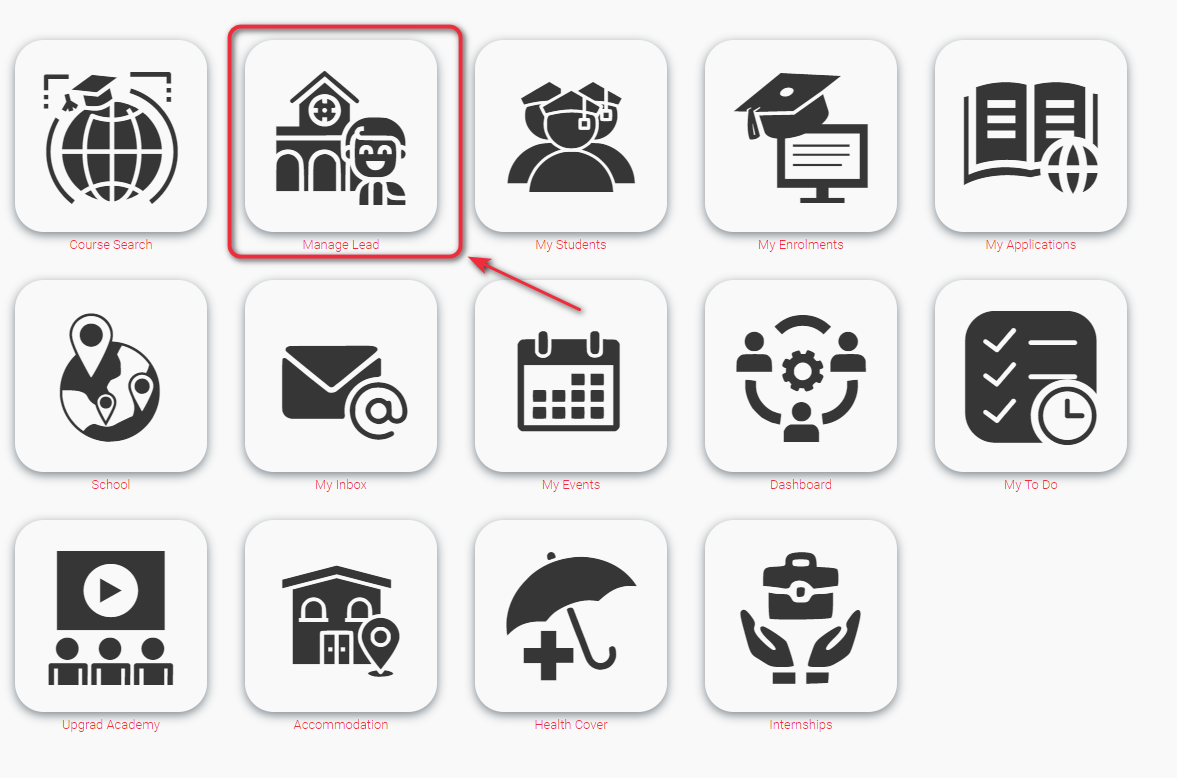
The upGrad Connect platform is connected to another platform to management the students interested to study abroad. This platform is called Marvin. By visiting ‘Manage Leads’ section from the upGrad Connect Home Page, you can directly access the Marvin page. You will need the login credentials for this, which will be set up while providing access to you.
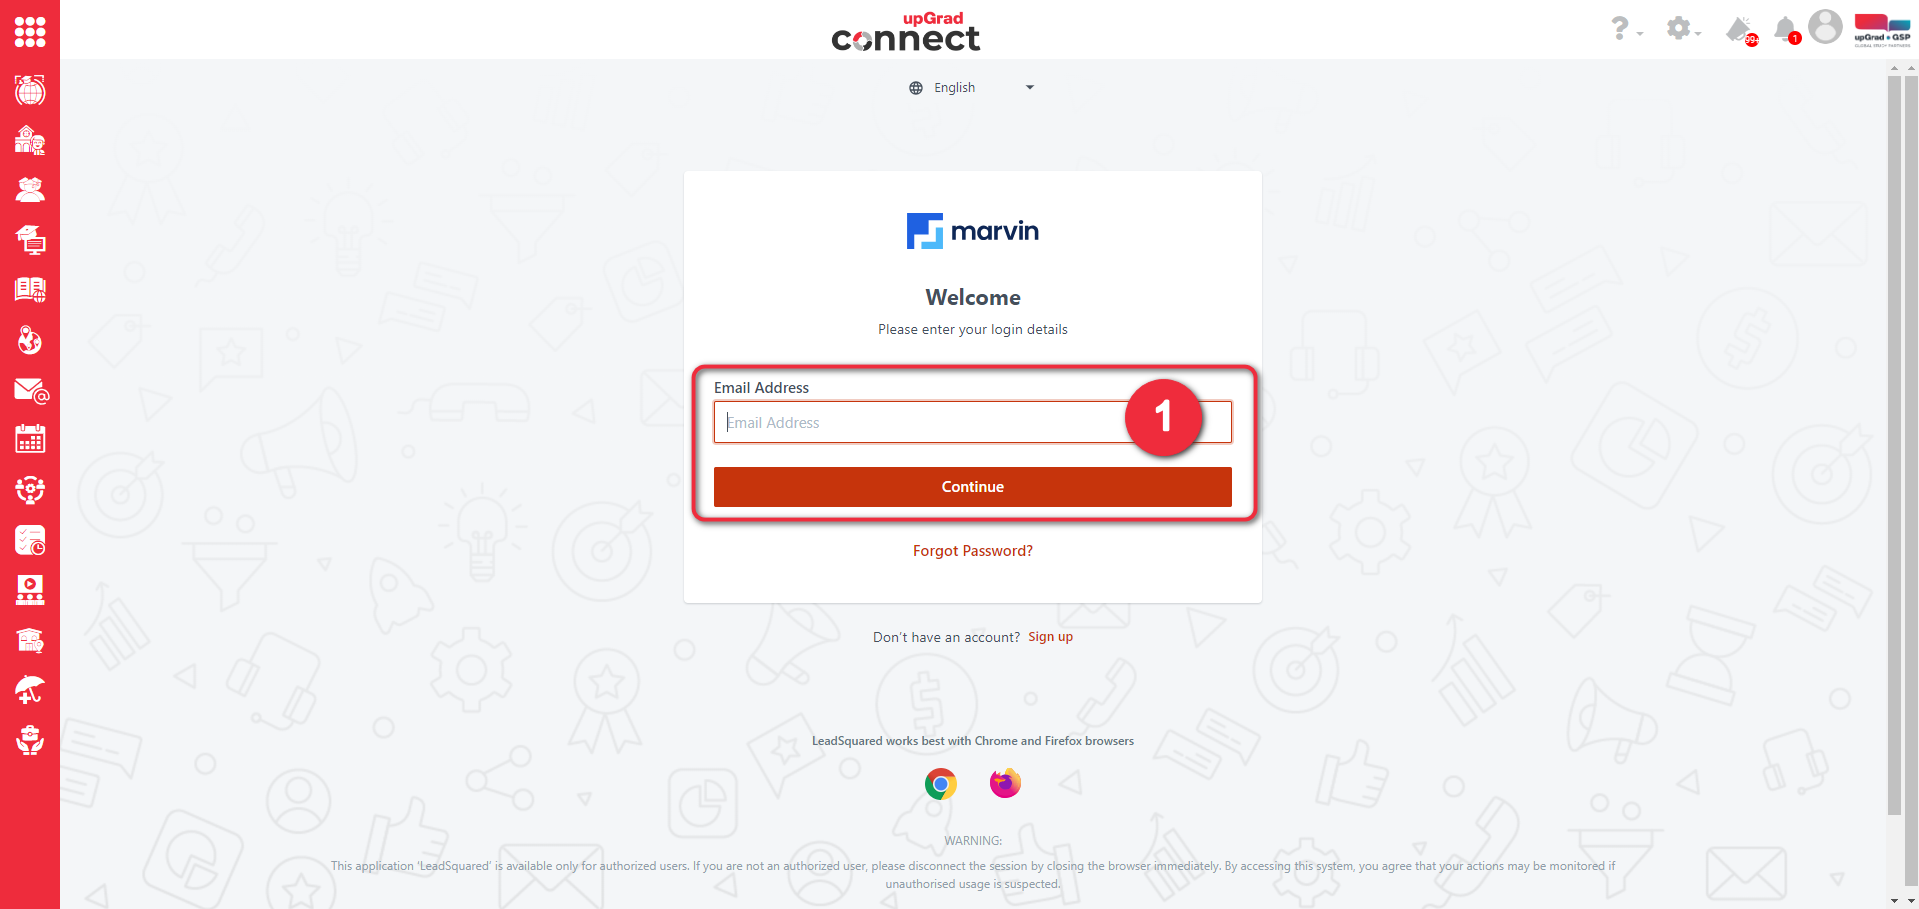
You will reach the login page of Marvin as seen below. Here, enter the username and press continue
Enter the password and press continue.
2
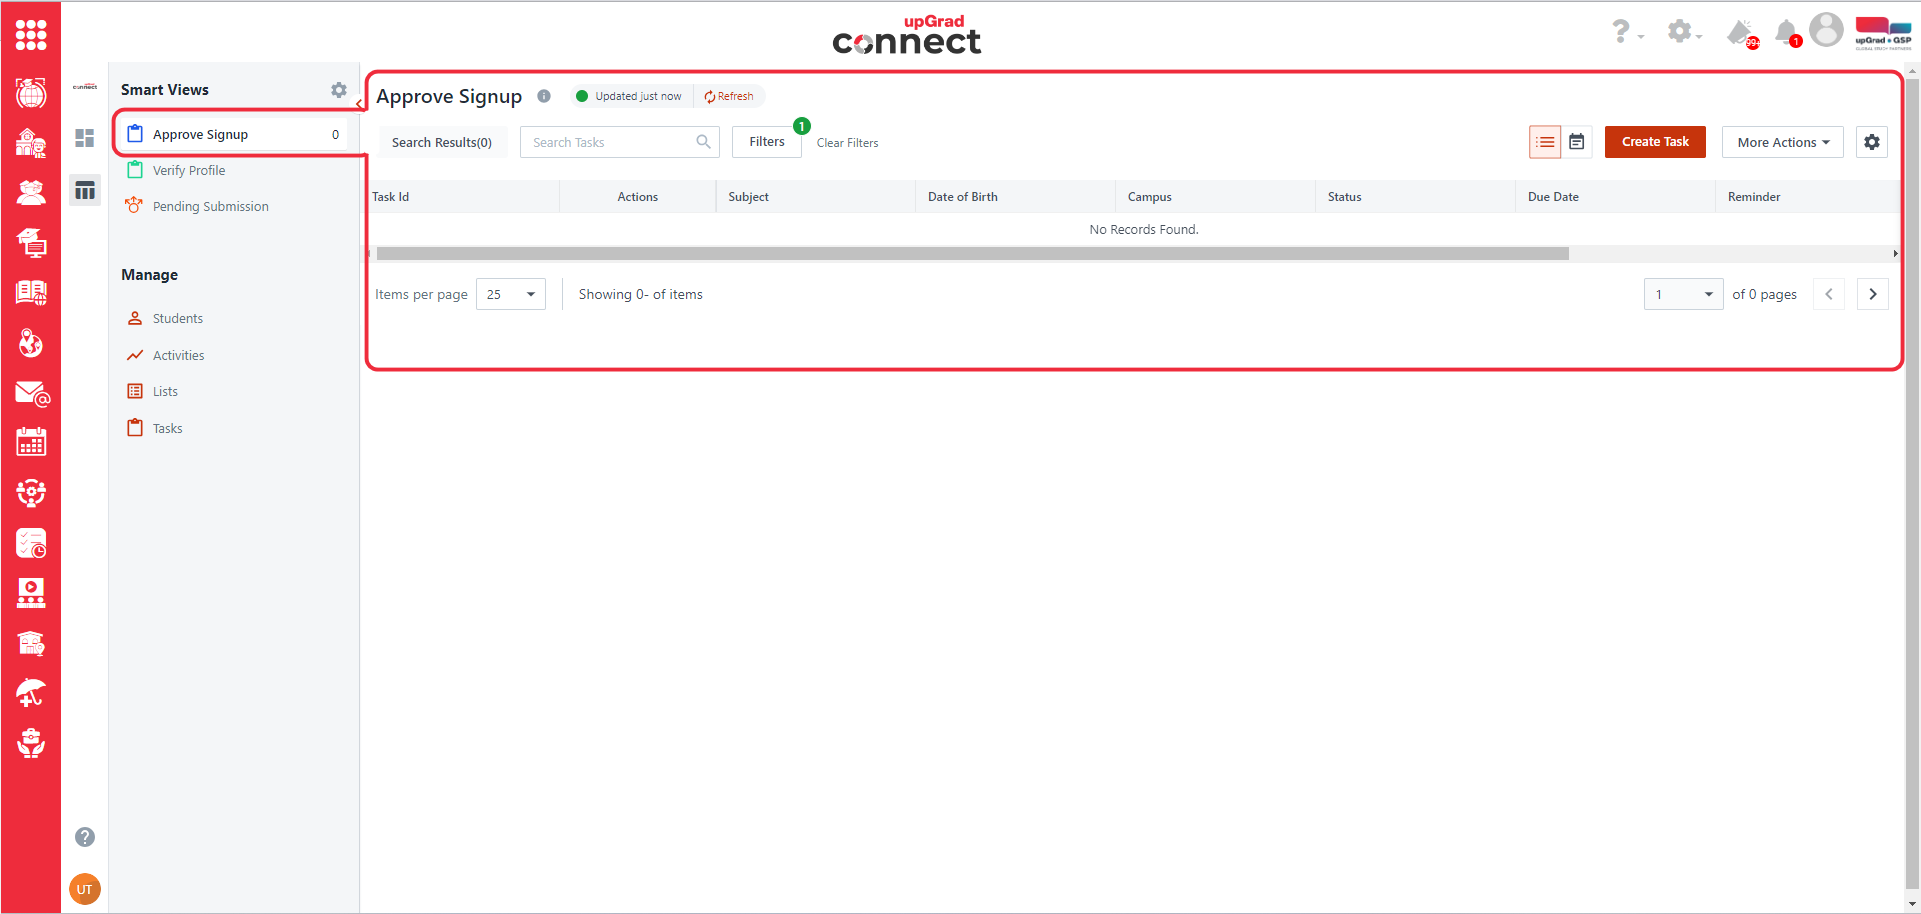
You will reach the ‘Approve Signup’ page. The screen below does not list any student profile waiting for approval.
Under the Approve Signup section, you will be able to see the pending student Sign-up task. Note the status is pending. Also there is a number ‘1’ denoting the number of pending signups.
1
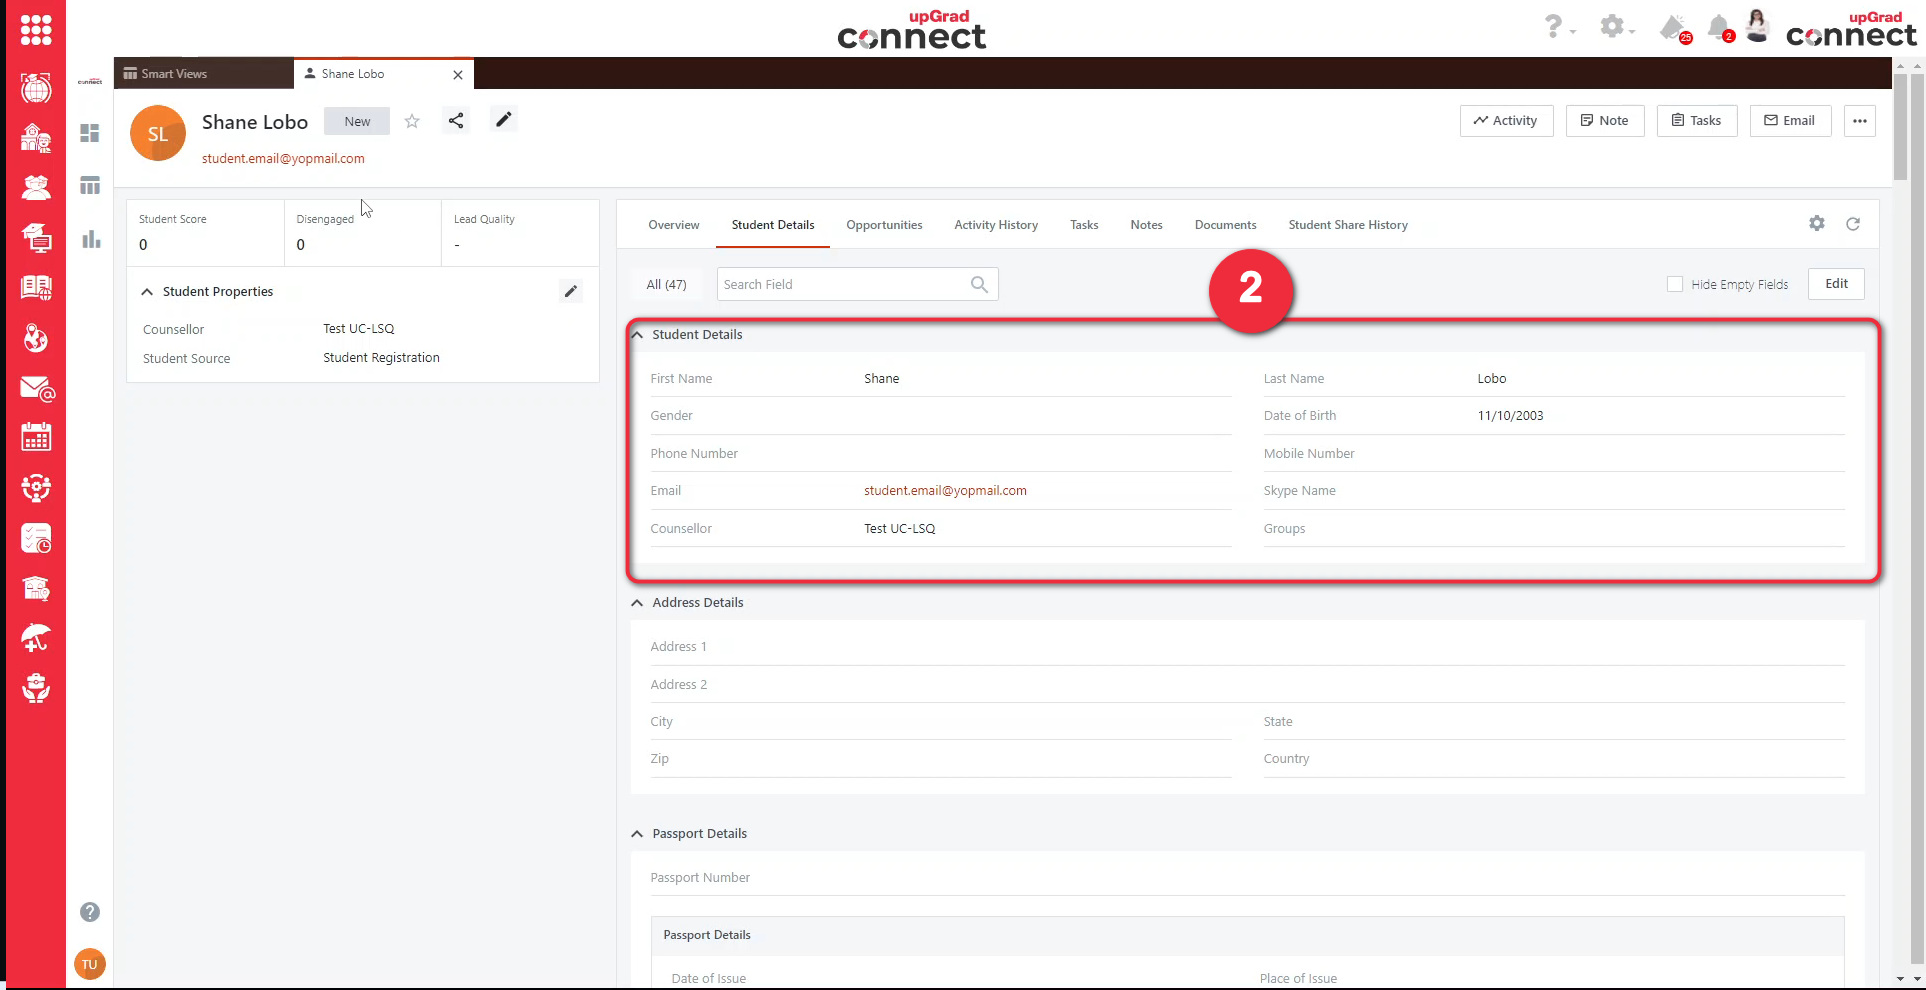
Click on the student’s name, it will open the new tab within the upGrad Connect screen.
Check the student’s details to confirm the student belongs to your school and you are supposed to approve it.
2
3
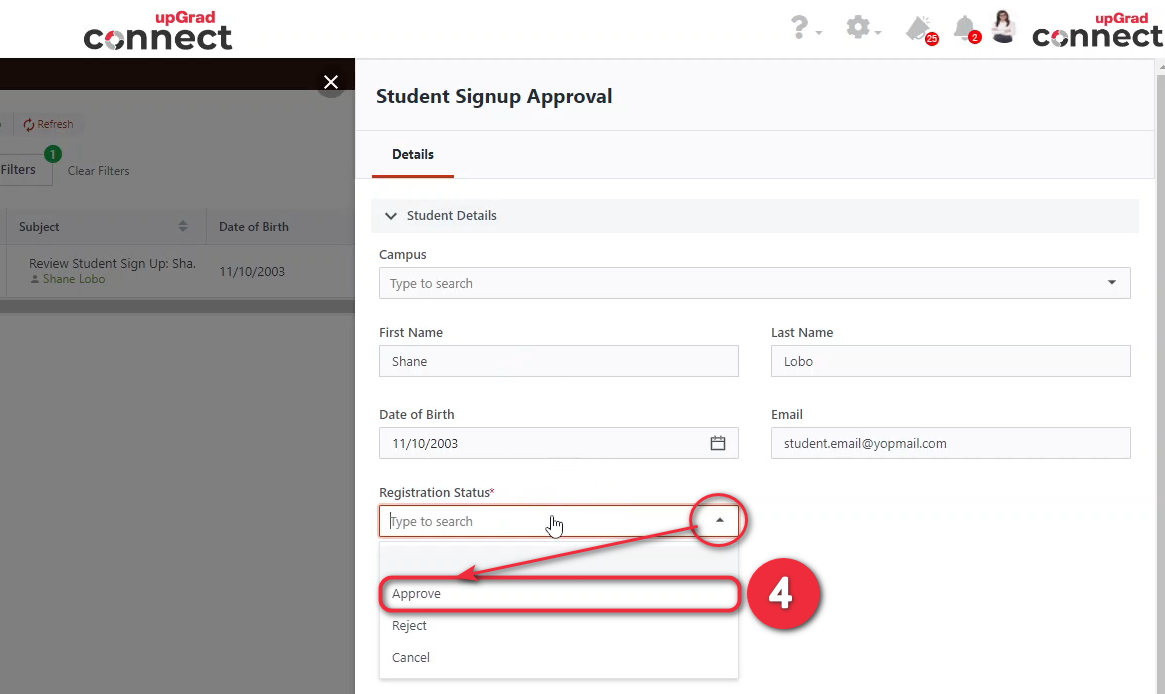
Once confirmed, click on the ‘Smart View’. Under Action column, click on the ‘Tick‘ icon to ‘Mark Complete‘ this task.
On the approval window on right side, on the ‘Registration Status‘ select approve from the drop down menu.
4
5
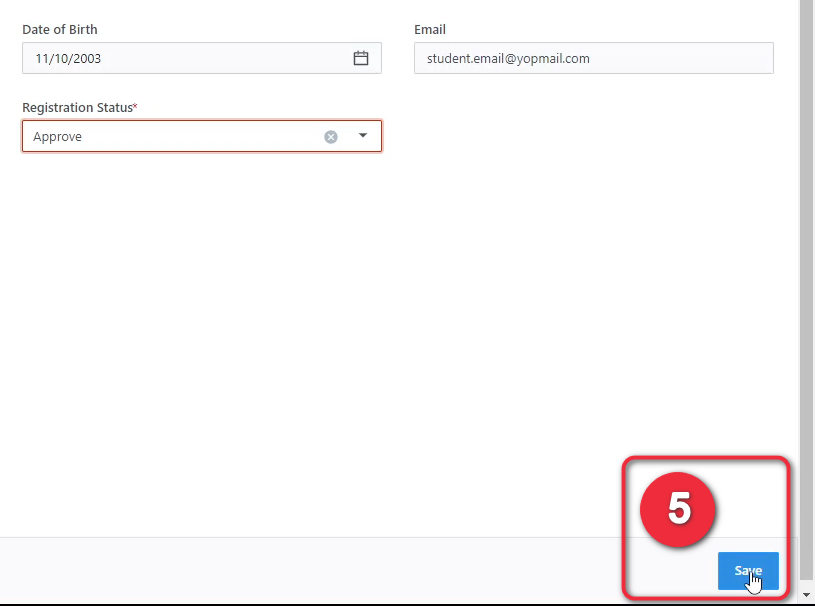
Click on Save button.
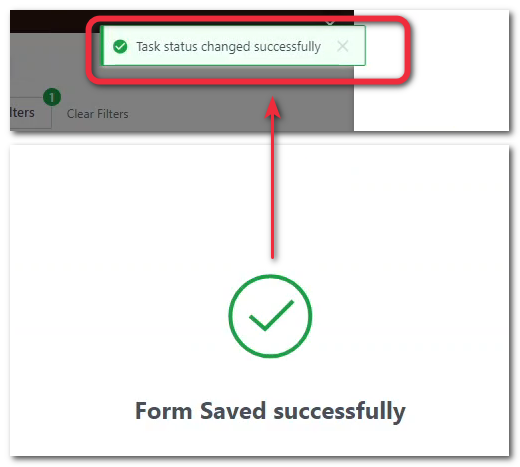
A confirmation that the Form has been saved successfully appears. Also at the top bottom you can also see a notification stating ‘Task status changed successfully‘.
6
The student will now get an email that their profile has been approved. This means the student now has an account which they can login. They will now be able to build their profile for further verification.
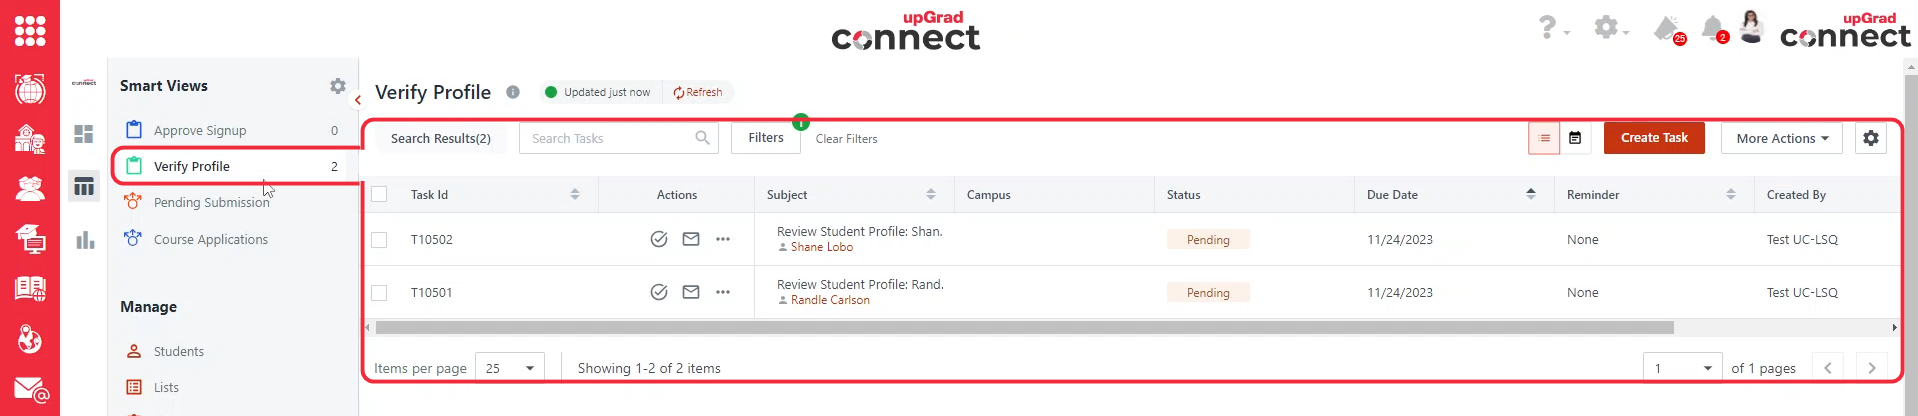
The student will build their profile from their login which we will have to now verify. You will need to be in the ‘Smart View‘ section under ‘ Verify Profile‘ section. You will see all the pending Review Student Profile here.
1
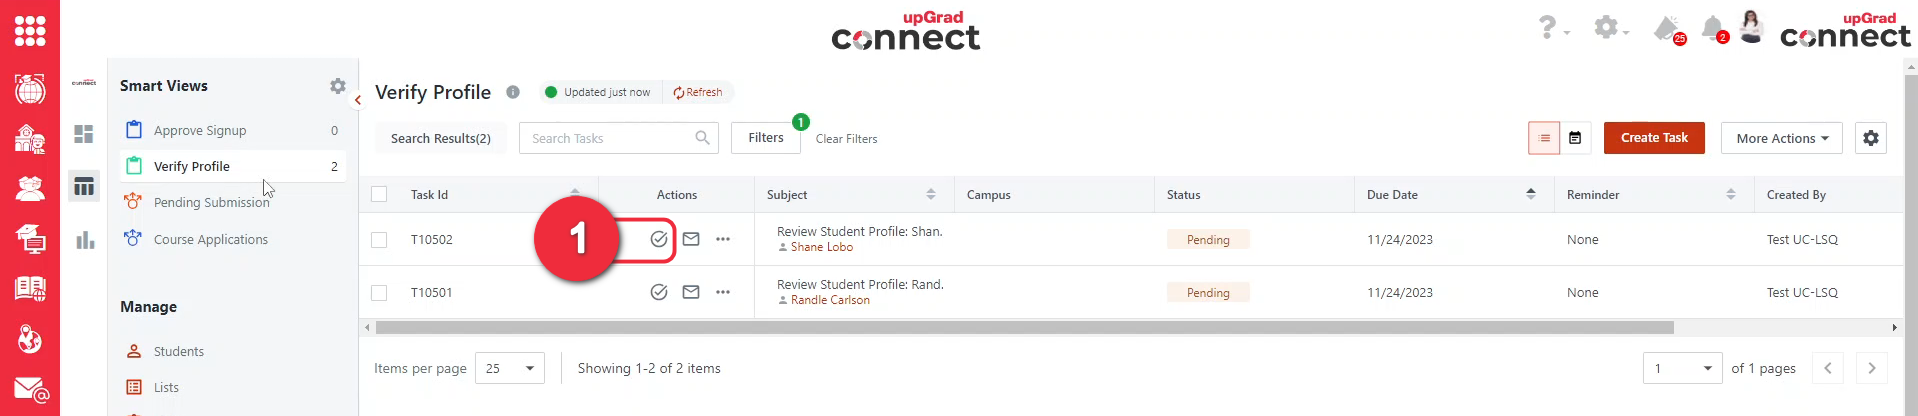
To verify the profile, click on the tick mark icon under the Actions Column.
A right pane appears where you will have to go through all the tabs to check the information fed by the student is correct.
2
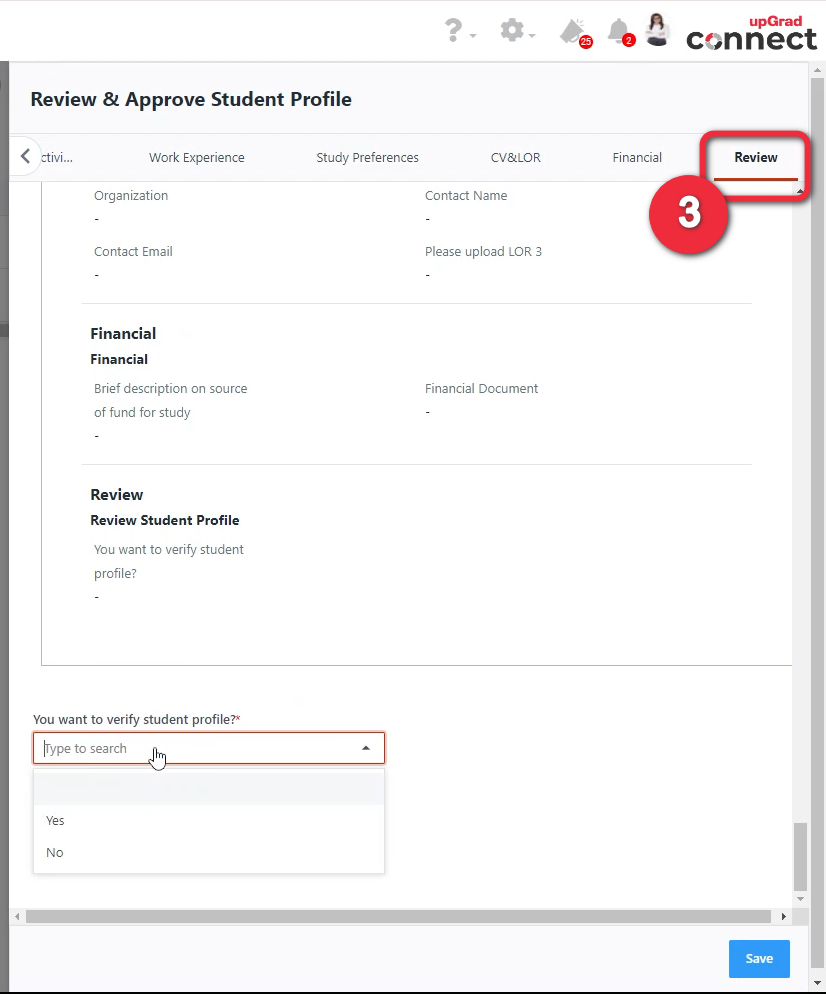
3
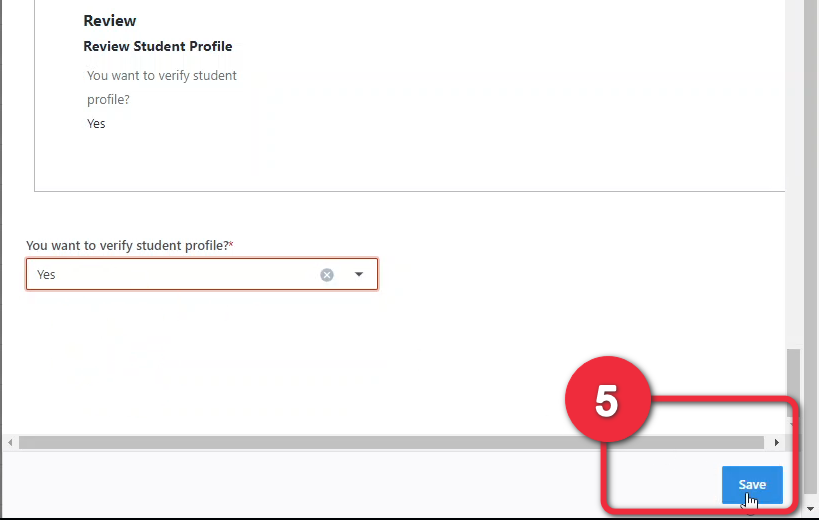
Go to the last tab – ‘Review’ and scroll to the bottom.
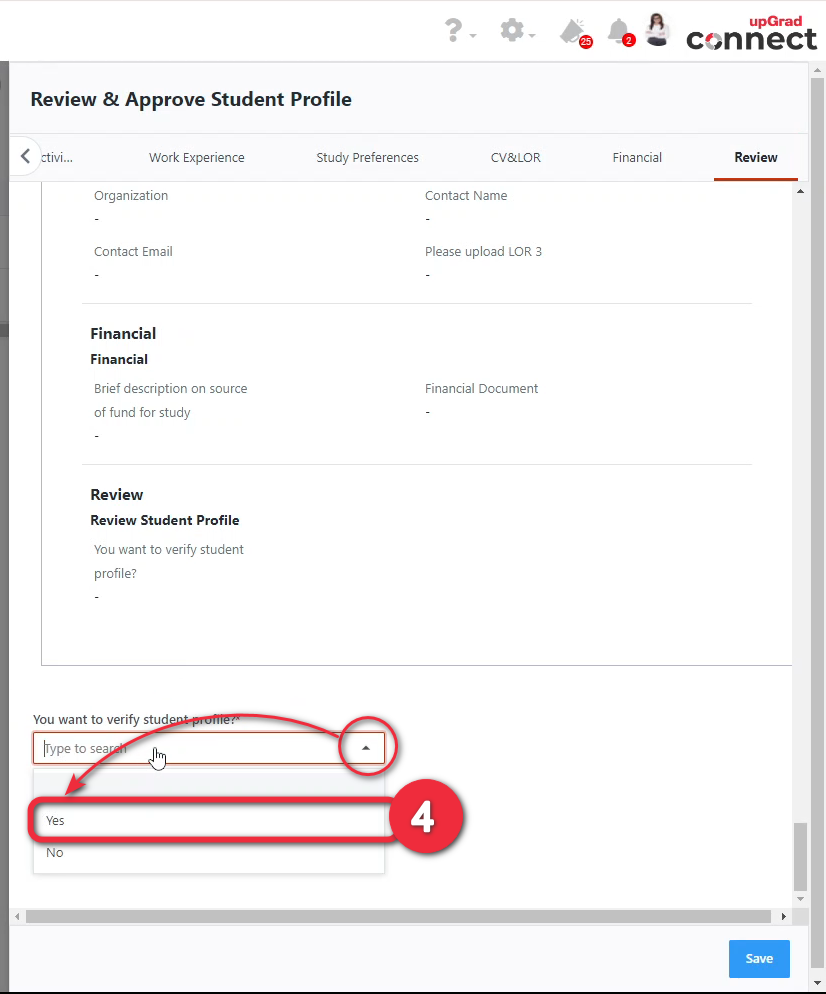
Select ‘Yes’ from ‘You want to verify student profile?’ field
4
5
Click on Save button.
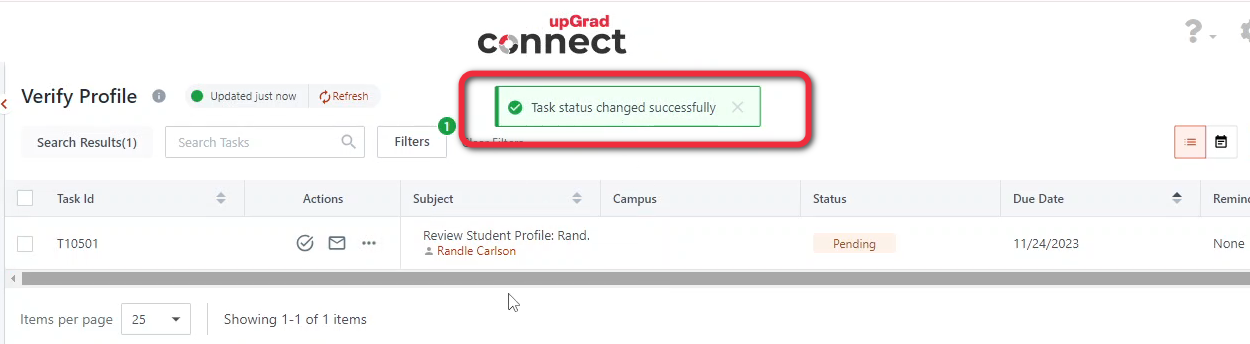
A confirmation appears stating ‘Task status changed successfully’.
6
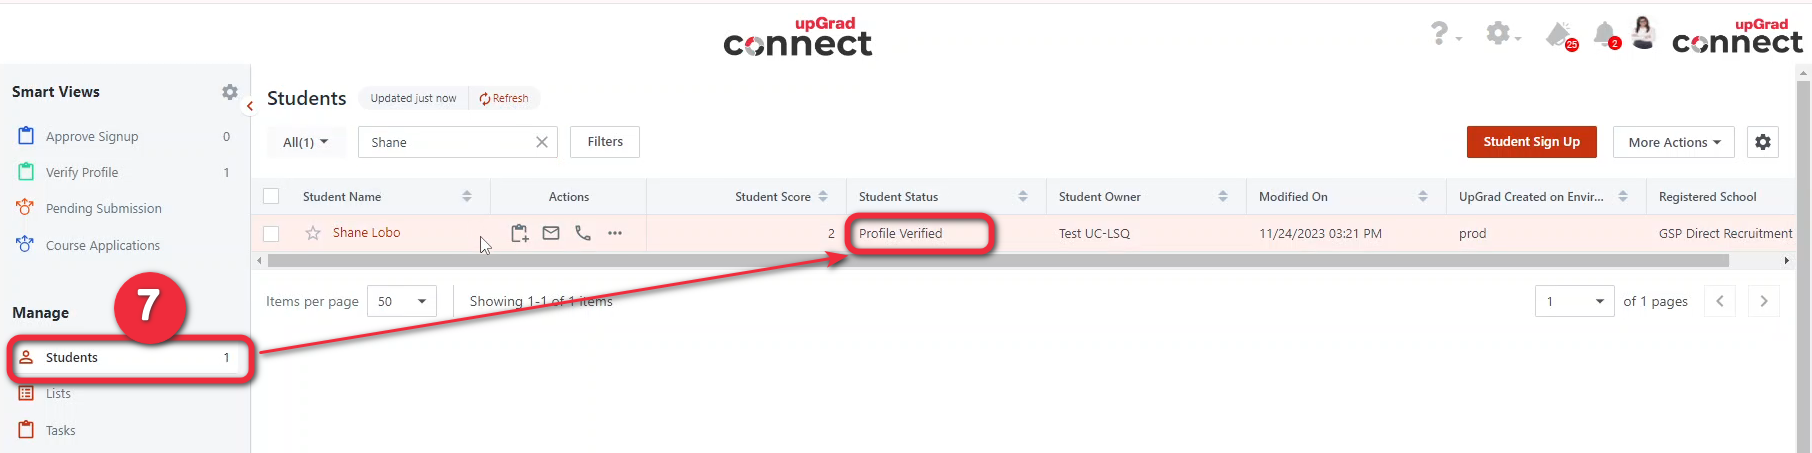
7
The student will not appear in the verify profile section as it has already been verified. You will now see the student under the Student section and the status as ‘Profile Verified’.
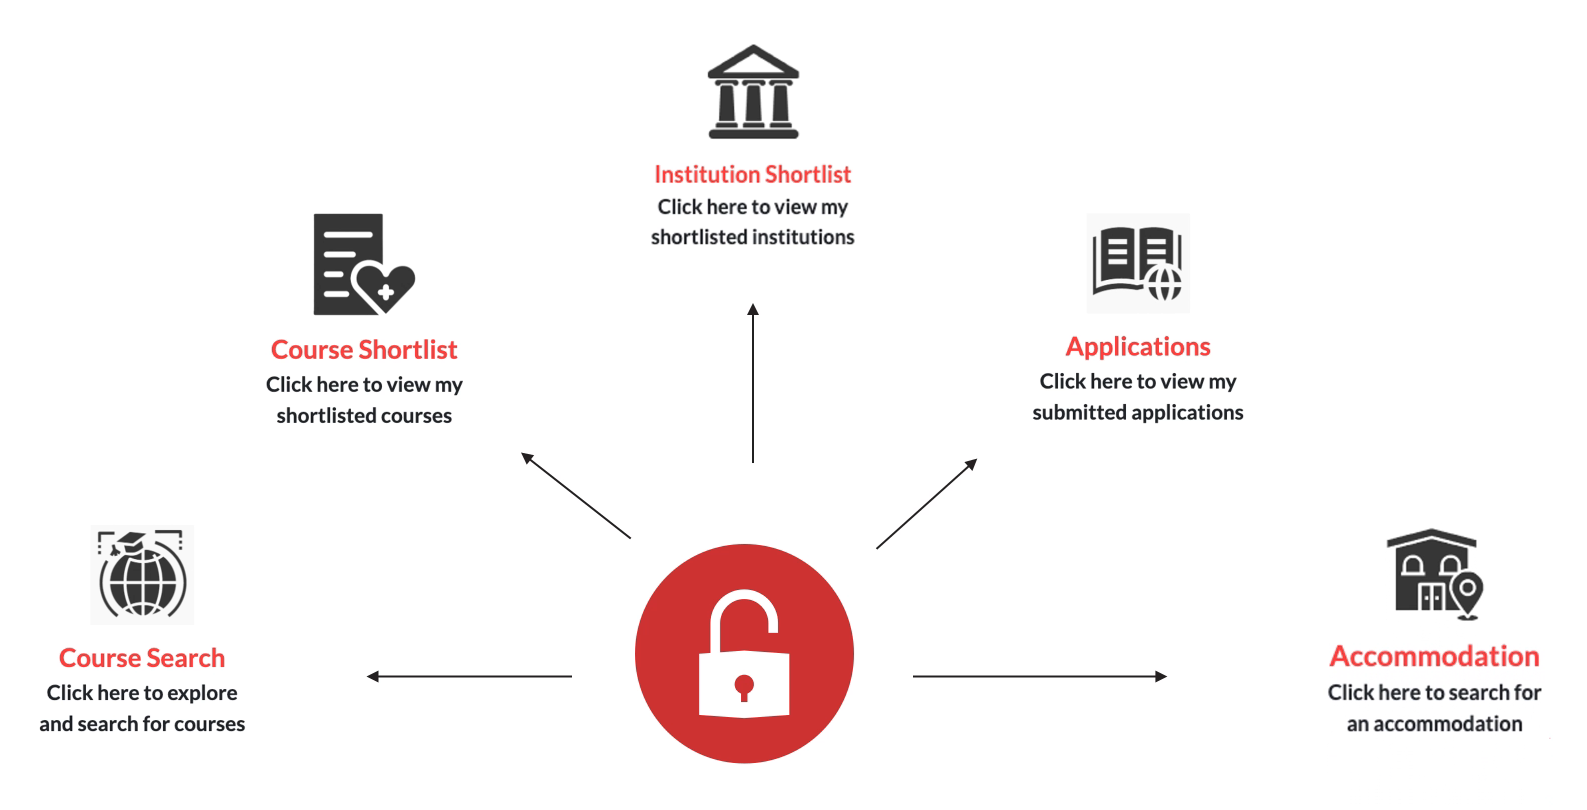
Student will now have access to various feature on the platform like
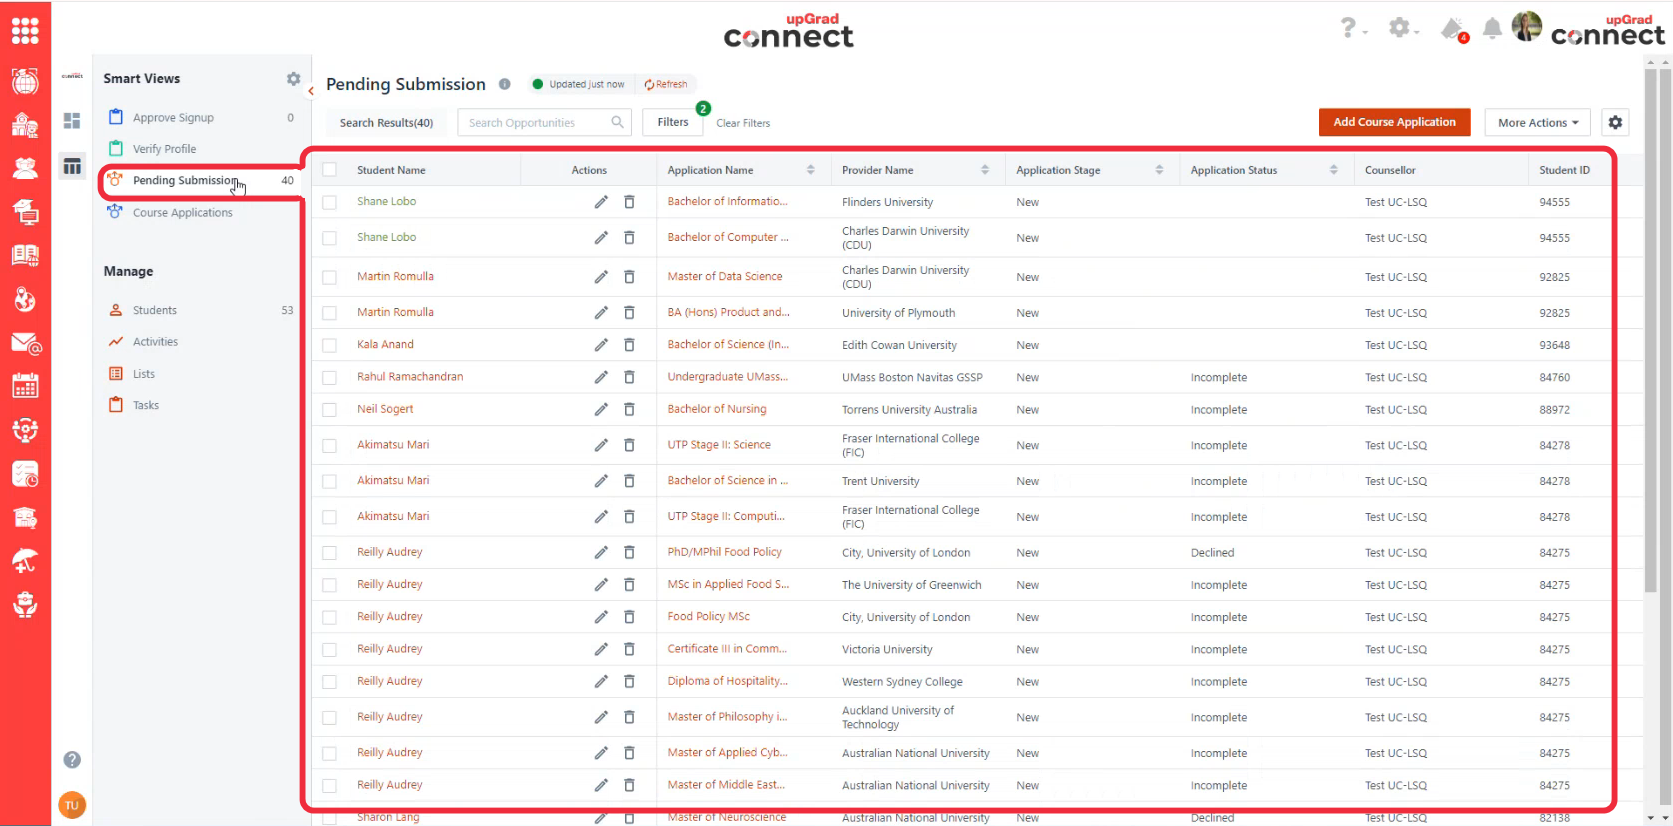
You will be able to see all the application that students have submitted in ‘Pending Submission‘ section. As the student expressed their interest to study in this courses and institution, they have forwarded this to you before an actual application is lodged to the respective institution.
1
Check the list of pending applications submitted by the student. In this example we will be using the second application of the student named ‘Shane Lobo’ with the student ID ‘94555’. We will need to remember the student ID of copy it as we will need this later.
Click on the Course in the Application Name column, to view the details of the course.
2
3
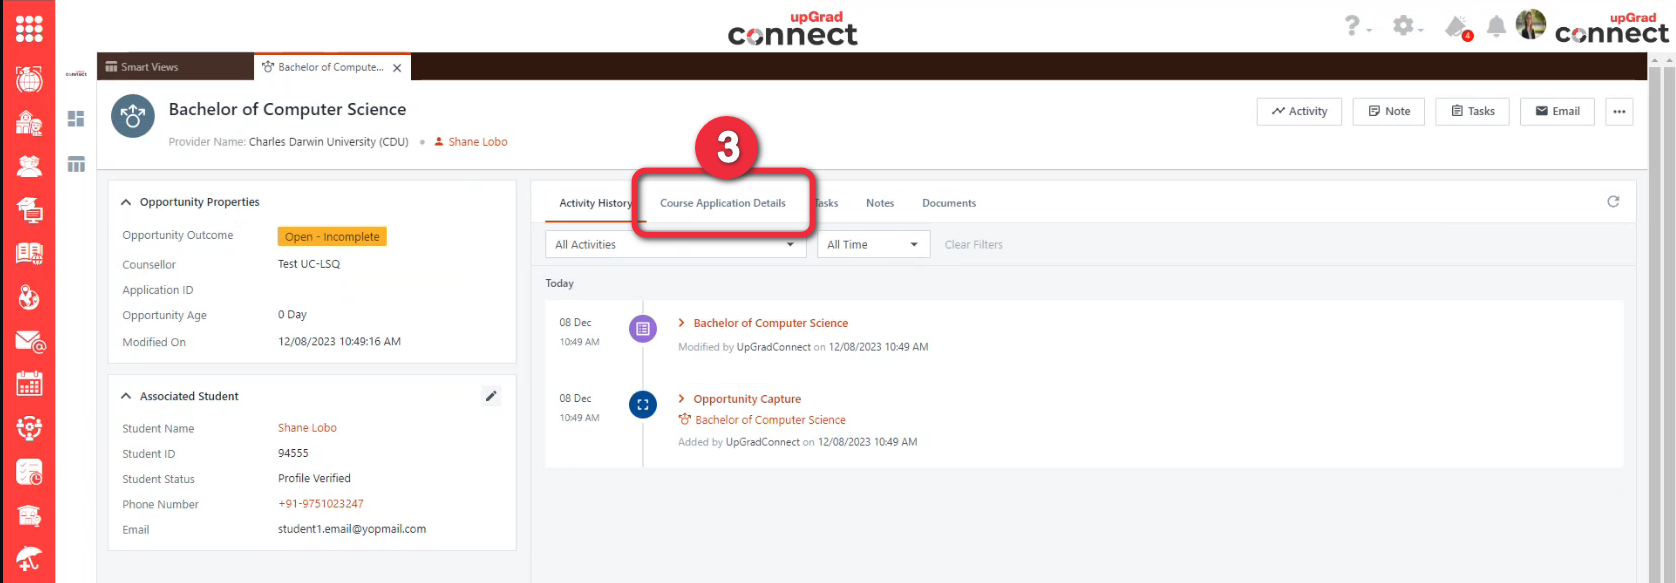
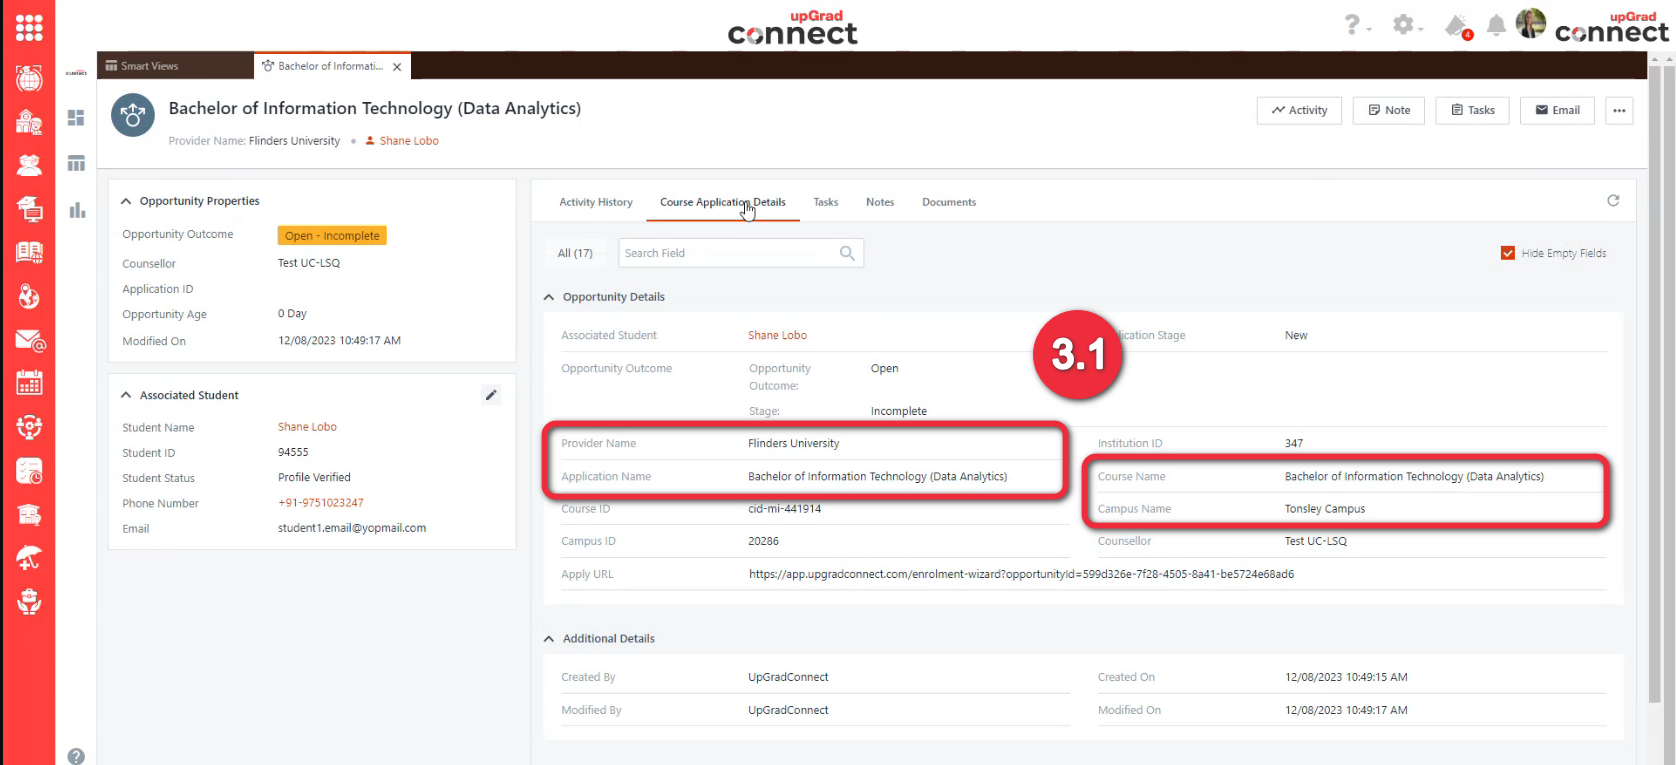
A course view open in a new tab inside the upGrad Connect window itself. Go to the Course Application Details tabs (3) and check Provider Name, Course Name and Campus Name (3.1). Make a note of it.
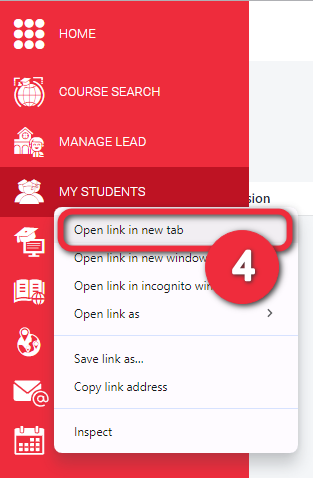
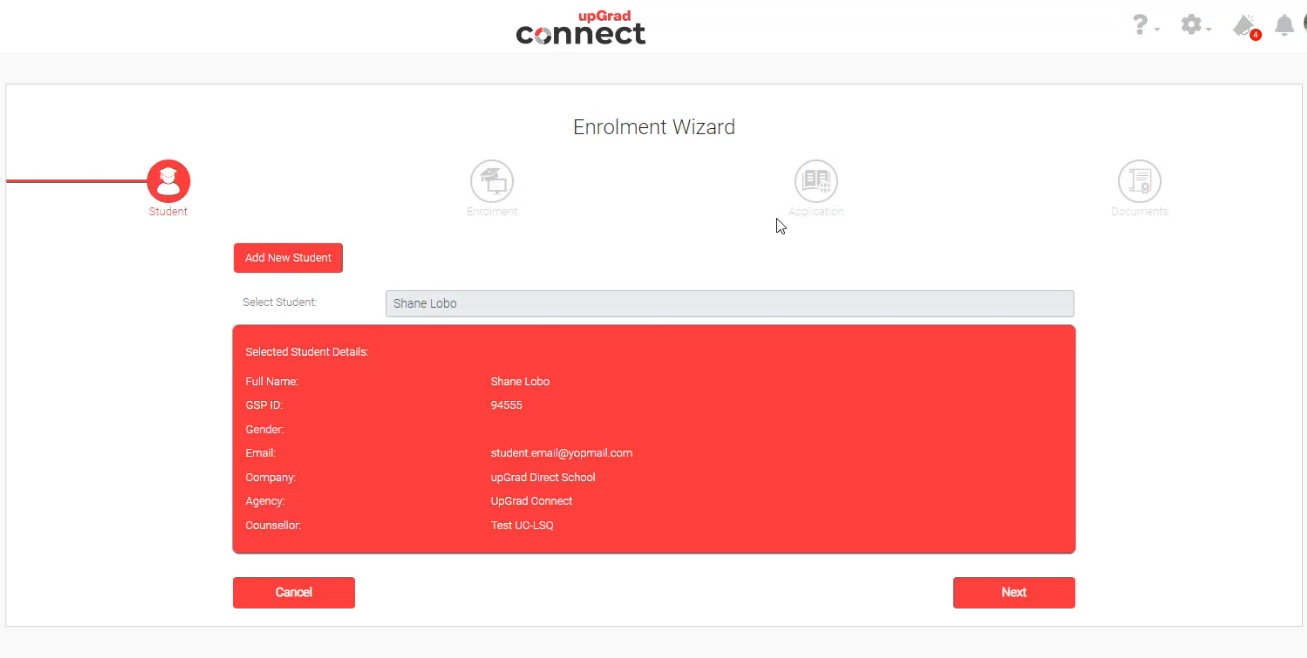
Now, open My Student from the Side Bar, preferably in the new tab.
4
5
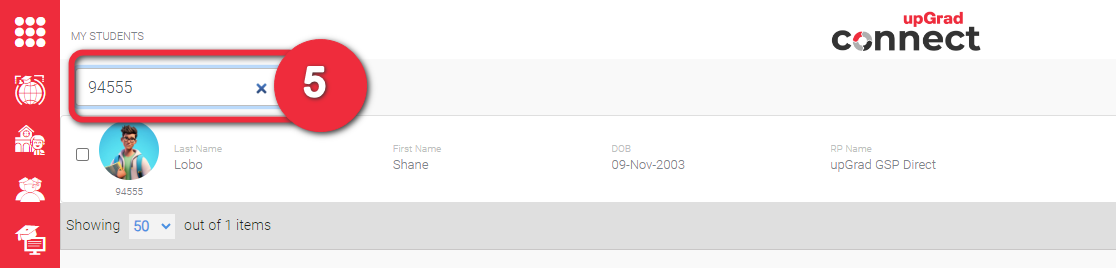
Insert the copied student ID from point 1 and search the student
Open the student profile by clicking on the profile image of the student.
6
7
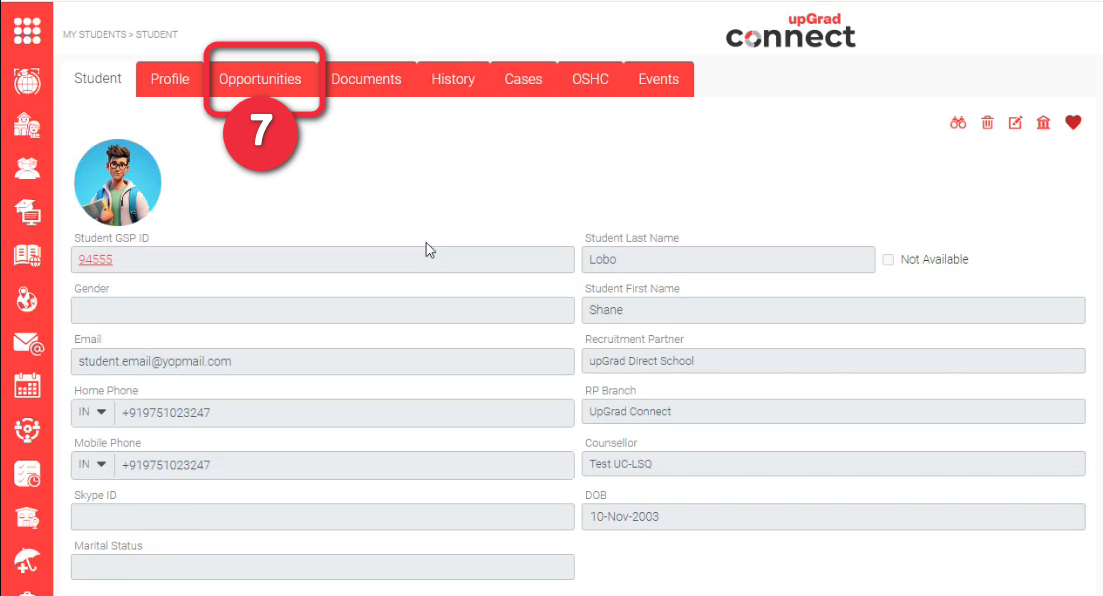
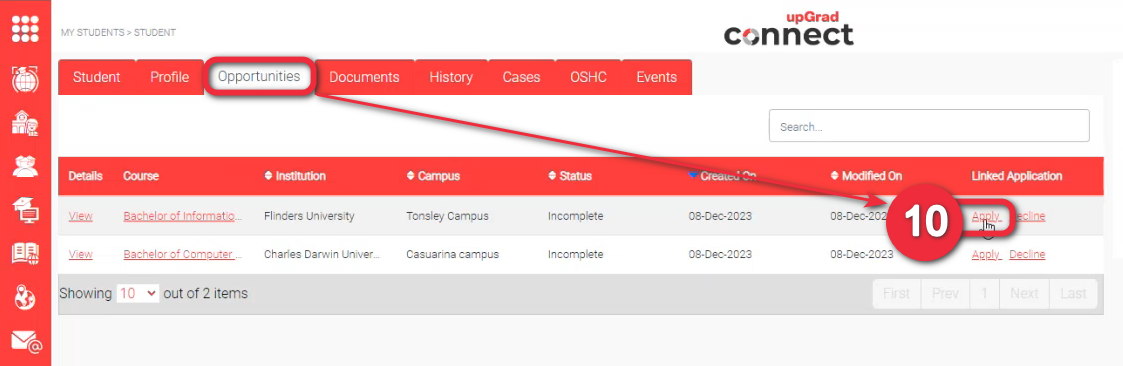
Click on ‘Opportunities’ tab and you will be able to see all the courses the student is interest in.
Click on the Course Title. A new page will open in a new tab of the browser.
8
9
Check the assessment criteria of the student by clicking on ‘Checklist’. You can study all the criterias and checklist to see if the student fits into this course.
Go back to the previous tab. You are in the ‘Opportunities’ tab. Now click on ‘Apply’ button if you want to proceed lodging to the university.