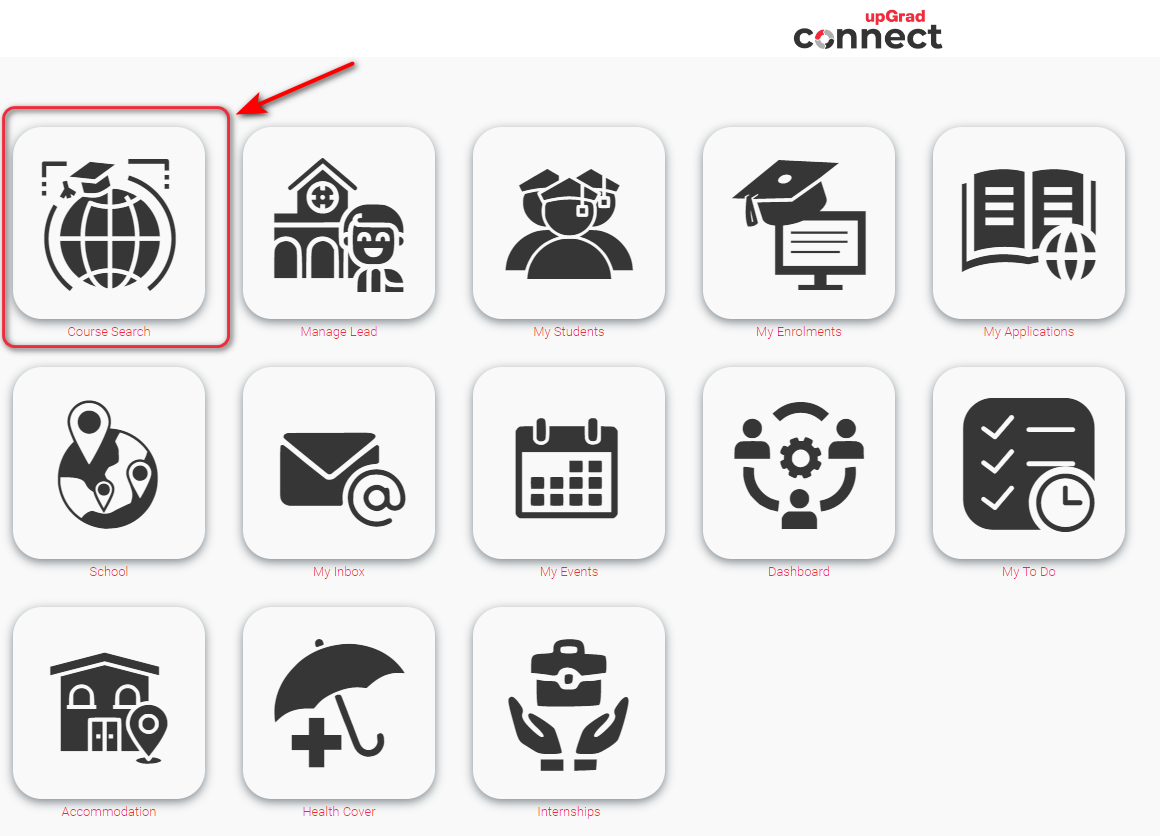
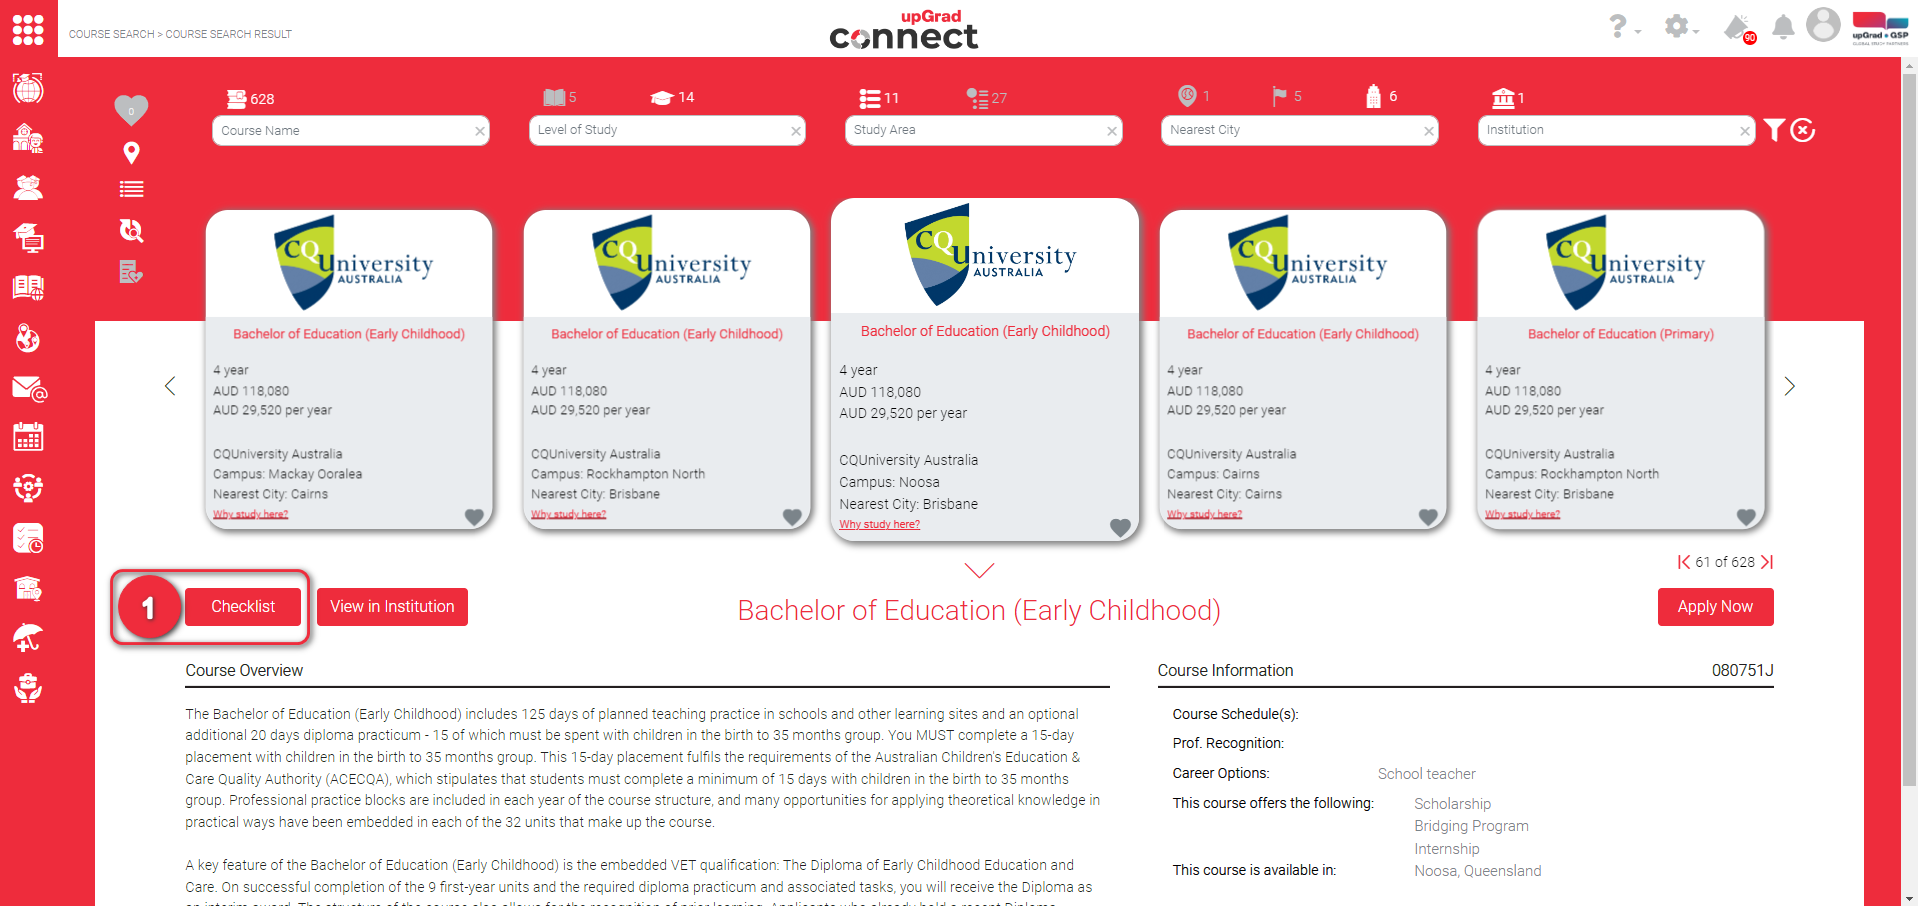
In the Course Details Page, click “Checklist” button
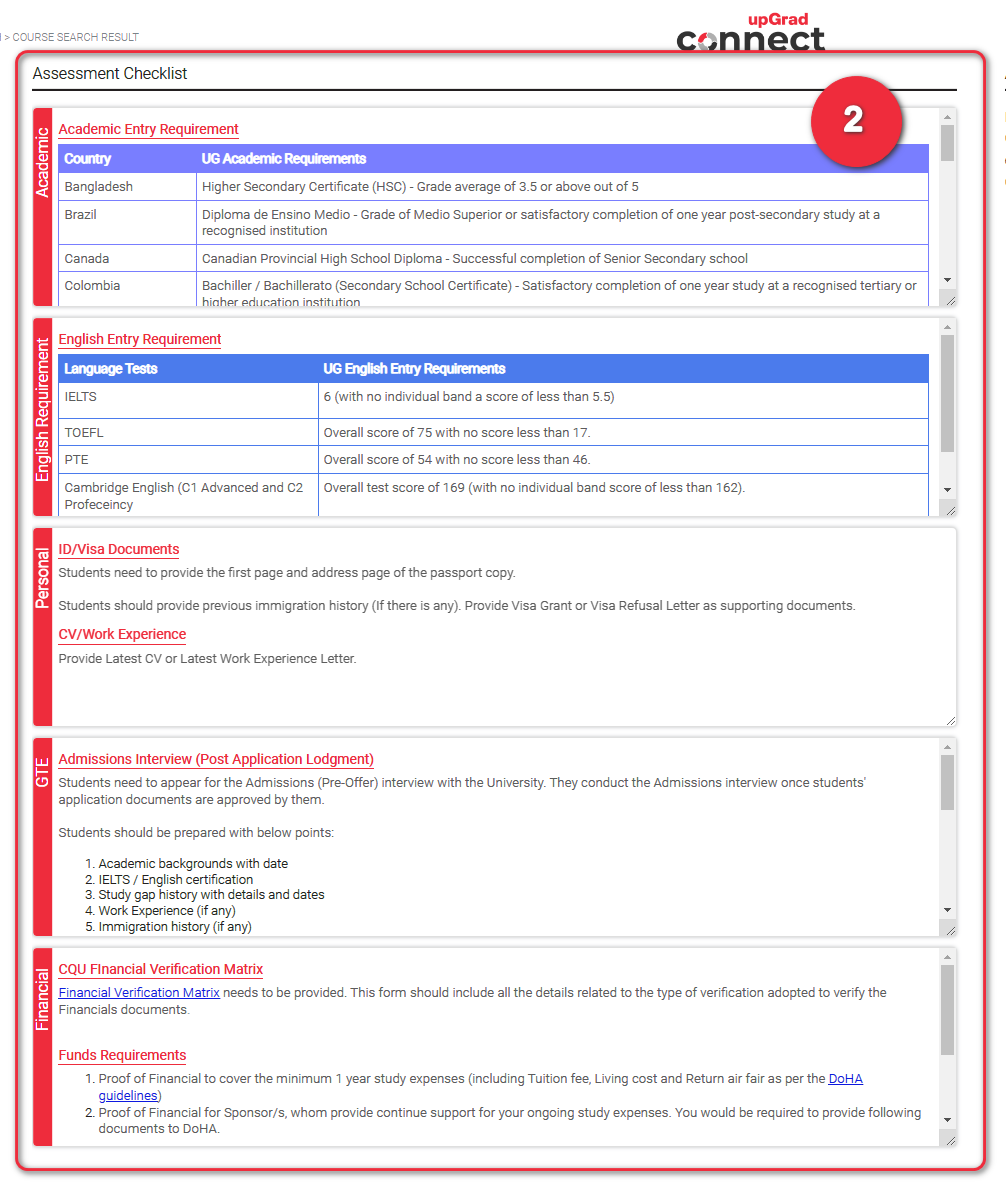
You will now see the Assessment Checklist. It is a list of all requirements that the student has to complete. With this new feature you can easily track and update the status per requirement. This will be learned in the next sessions. But for now, here is a screenshot of what the Assessment Checklist looks like:
Assessment Checklist includes the following types:
Academic Entry Requirement
English Entry Requirement
Exclusion
Financial Requirement
Form/s Required
GTE
Personal
Please note that the specific requirements of each type for each course vary.
If you also do not see something that looks like this, please contact GSP Admin or your Branch Manager to set this up.
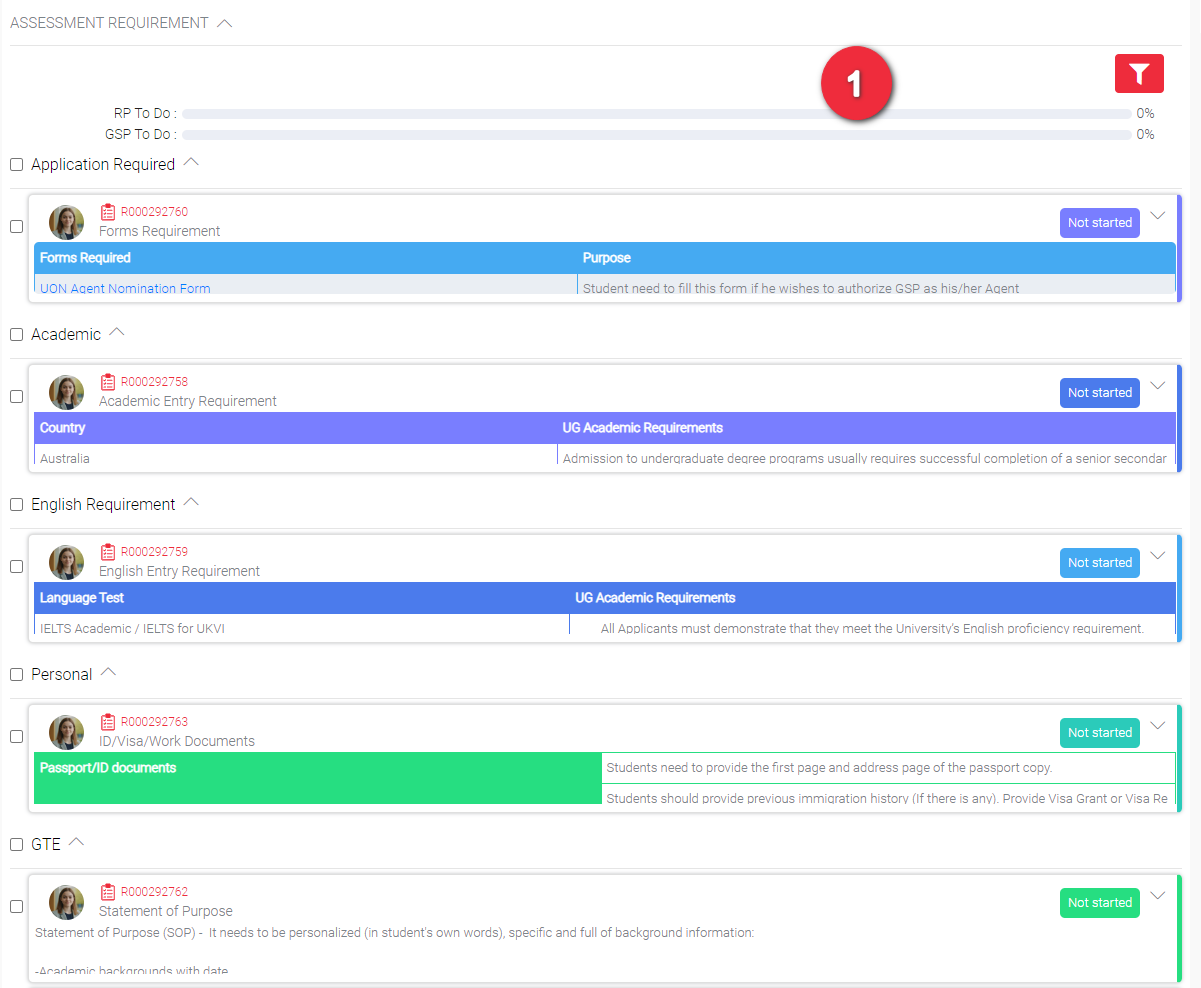
When you apply for a course that has Assessment Requirement, you should be able to find this same items in the Application Record Page. The requirement has now become a checklist to easily monitor the progress of each. The status of each requirement in the checklist is also displayed. By default the status of each is “Not started”.
Please note this Assessment Checklist section only appears the time when you applied for the course that has Assessment Requirement in the Course Details Page. Any Applications prior to the Assessment Requirement has been added in the Course Search, do not have this. Please contact your System Admin or Branch Manager for more inquiries.
1
2
Click the header of requirement to see full details
Image 2.1 Scroll the container to see all the details it has
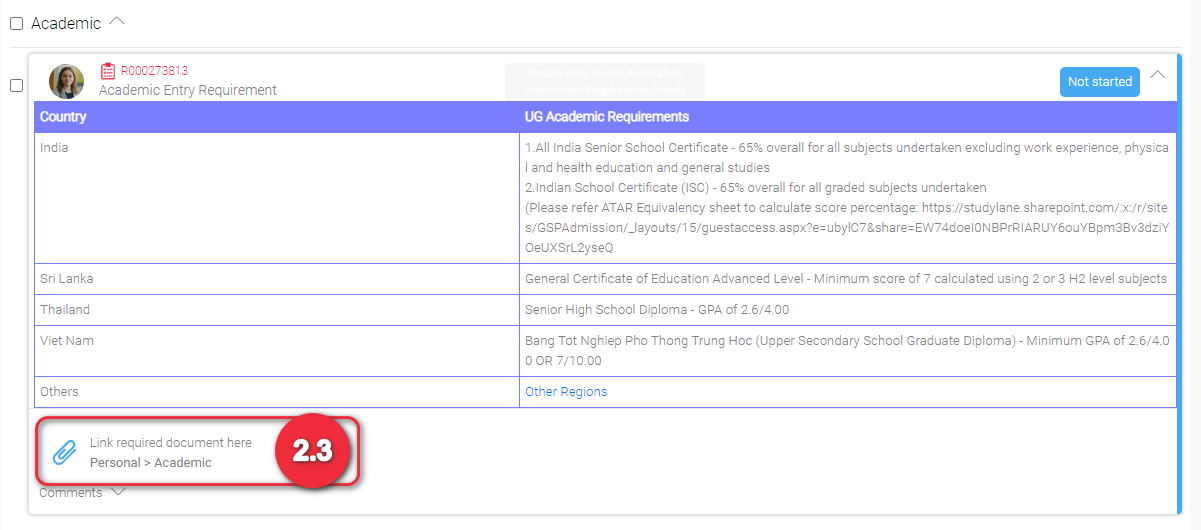
Click “Link required documents here”. You can also notice that it specifies the category and sub category of the required document. For instance in the example below, Personal > Academic.
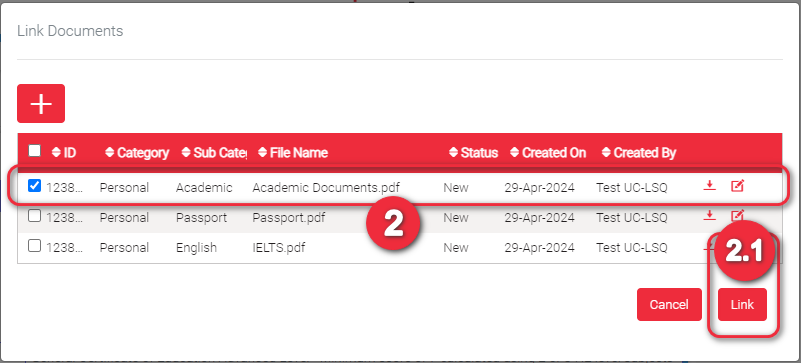
A pop-up will appear displaying all the documents you can link to this requirement. Check all that applies. If the document that you want to link is not yet uploaded in the list, click ” + ” to upload document/s.
Image 2.1 Click “Link” button to link all the documents you have marked to the requirement
2
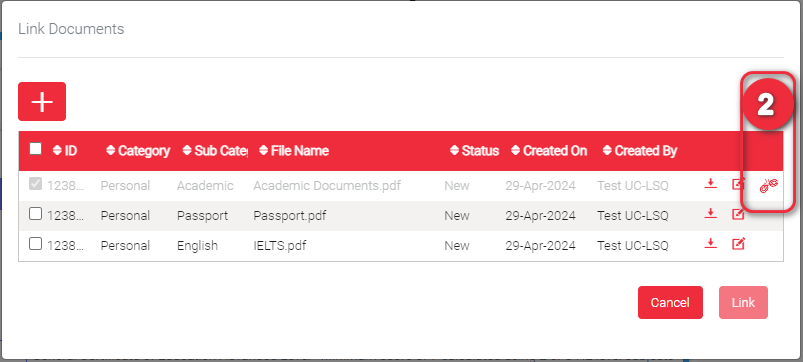
Image 2.2 Click “Confirm” button to continue linking the selected document/s. Otherwise, click Cancel.
Image 2.3 A notification will appear saying that the document/s has successfully linked.
Image 2.4 You should be able to see the document/s linked to the requirement.
View the requirement in full and click the Comments section
Click “Add a comment” so you can start typing.
2
Image 2.1 Type comment in the text box
Image 2.2 Click check mark to save the comment or cross mark remove comment.
Image 2.3 Comments on a particular requirement should then be viewable in this section. You can also view here other people’s comment who have access to this. You can only edit and delete your own comment by clicking the edit and trash bin icons
Once you are happy with the updates you have made, click “Not started”. You can update the status of each item. In this case, the screenshot below is updating the Academic.
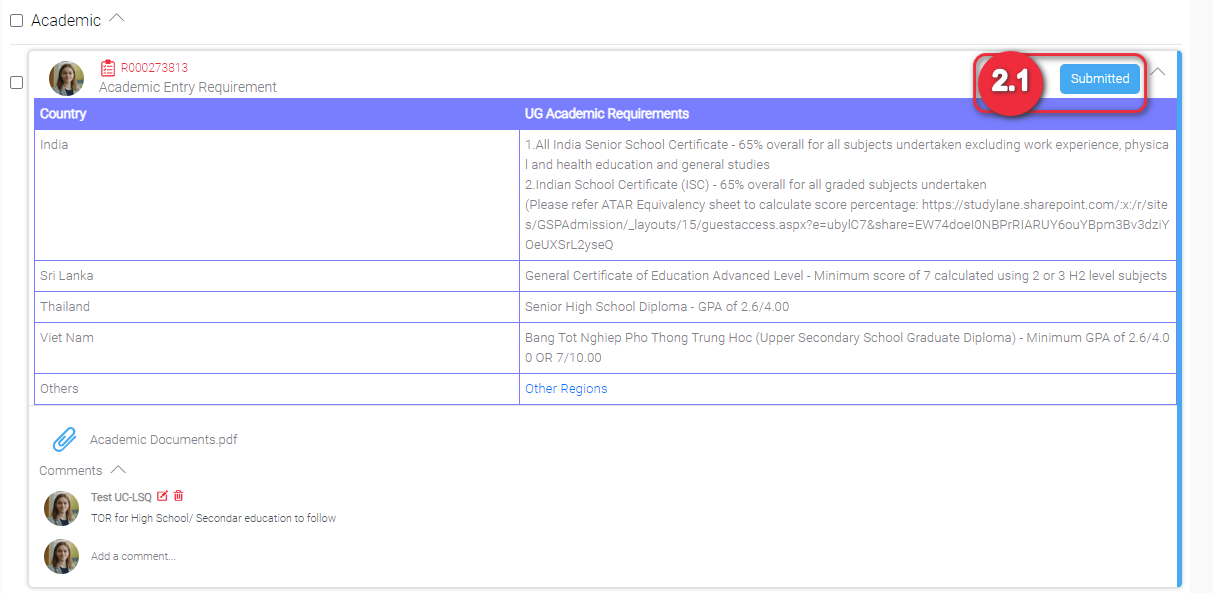
Click “Submitted” as the new status of the requirement.
2
Image 2.1: The status of the requirement has now been updated to “Submitted”. GSP People will then review this. You can still put back the status to “Not Started” as necessary.
3
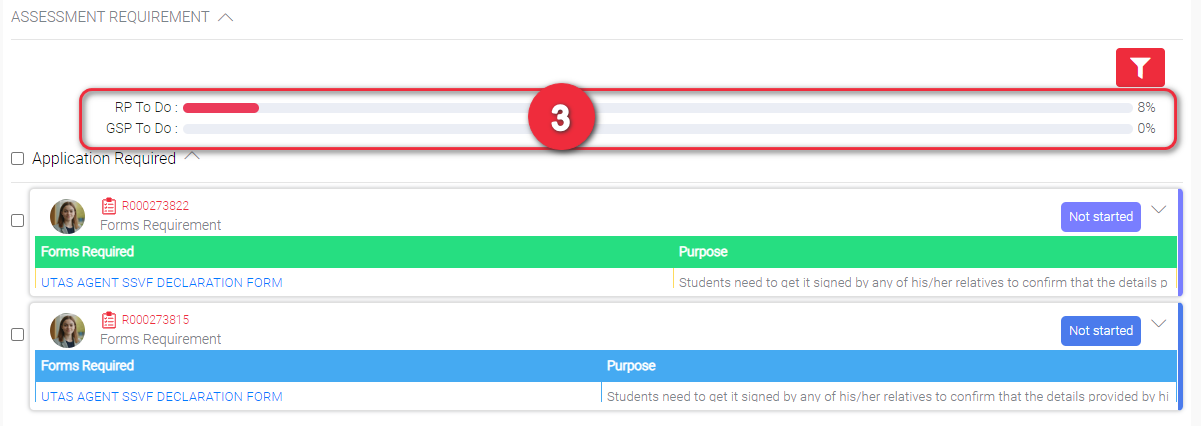
You may have noticed that the progress bar for RP To Do has been updated. Progress bar will continue updating whenever you or the GSP Personnel make updates.
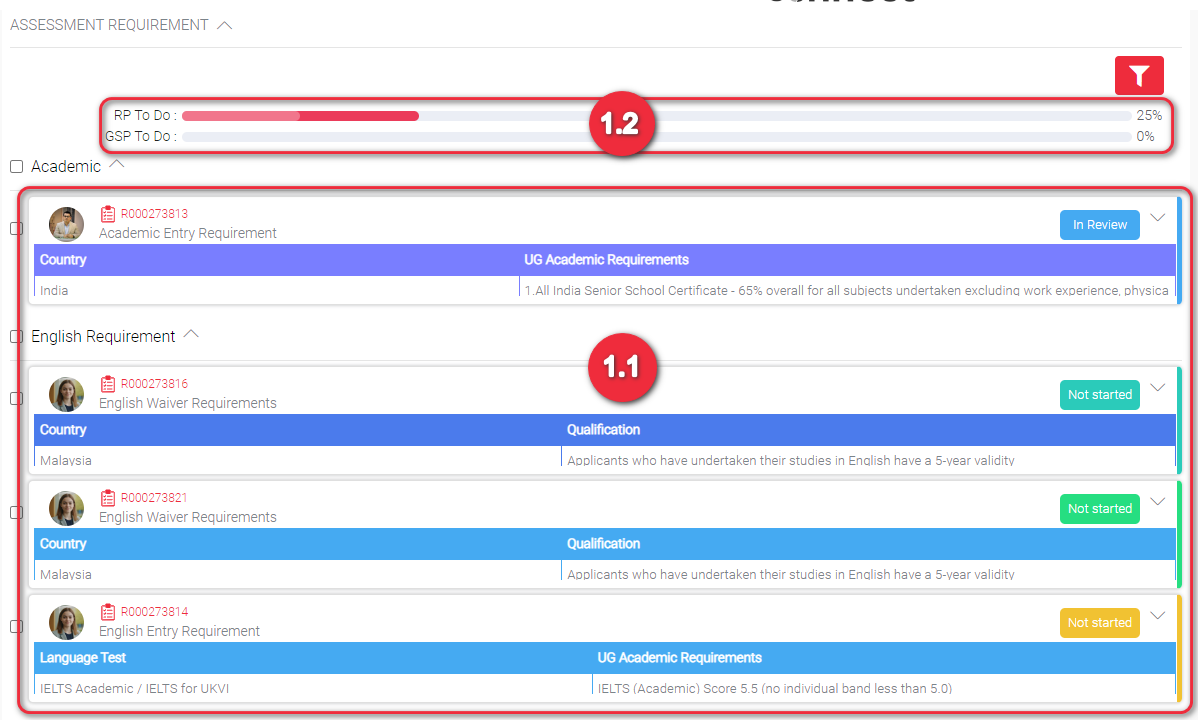
When you change the status of each requirement GSP Is notified and will attend to it. GSP Personnel changes the status accordingly. Example of a status by a GSP Personnel:
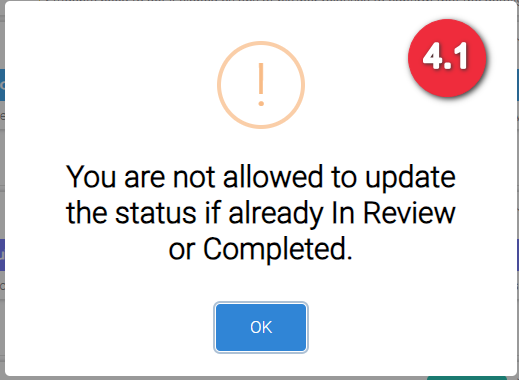
4
Image 4.1 When a status is already “In Review” or “Completed” you can no longer update the status. But you can still link documents and make comments. When you click the status, a notification will be displayed: