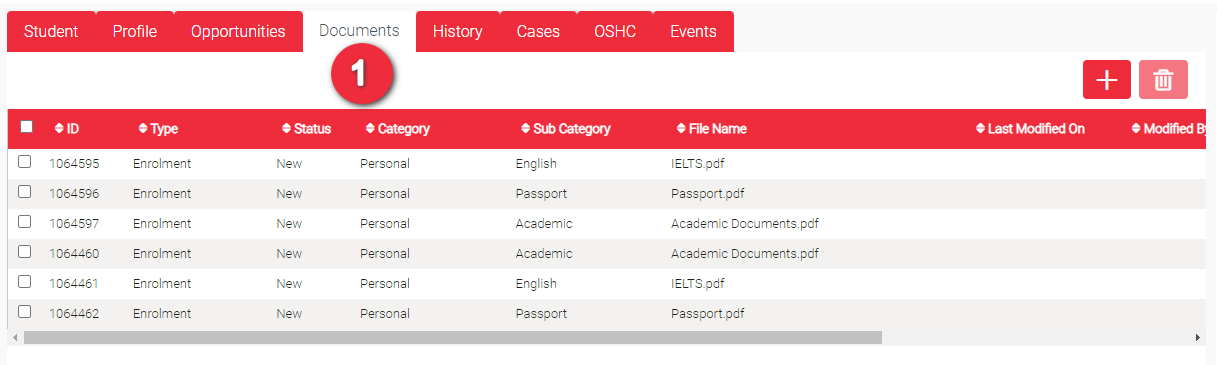
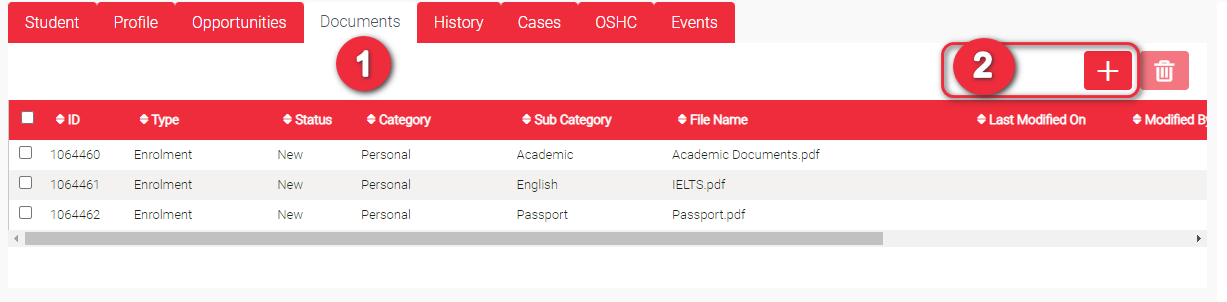
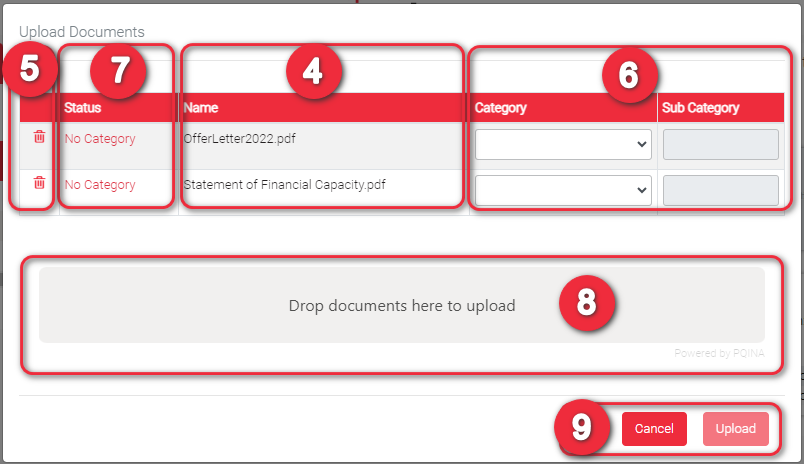
This is where you attach student related documents. When you attach a document, you have to identify its Category and Sub Category. The picklist for Sub Category depends on the selected Category. So, other users do not need to open the documents one by one in case they are looking for a specific document.
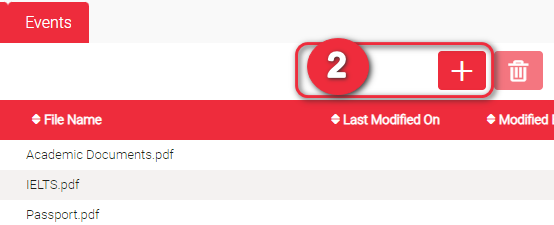
Add Student Document Click the ‘+’ under the ‘Documents’ tab to upload documents. A pop-up will appear where you can upload the documents. You can upload practically any kind of most used document file types (e.g., .jpeg, .jpg, .png, .pages, .pdf, .doc, etc.) up to 5MB each. Specifically the following are the files that GSP App accepts:
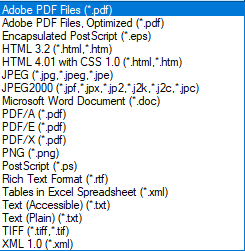
All MS Office Files (e.g., .doc, .docx, .xls, .xlsx, .ppt, .pptx)
Others:
2
3
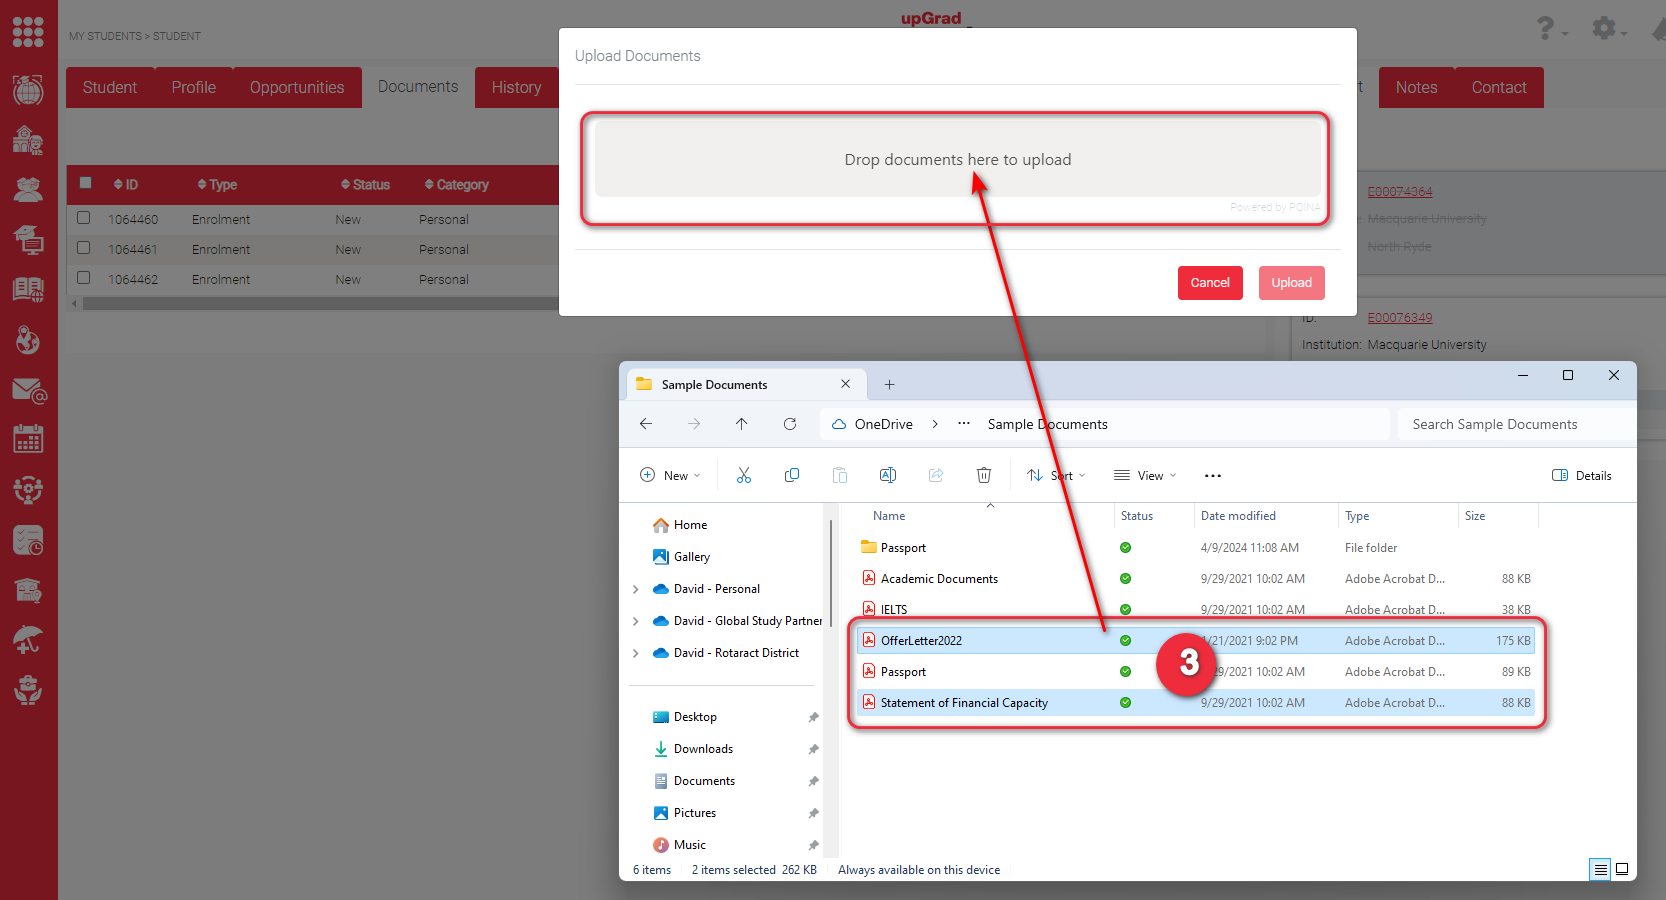
This is where you attach student related documents. When you attach a document, you have to identify its Category and Sub Category. The picklist for Sub Category depends on the selected Category. So, other users do not need to open the documents one by one in case they are looking for a specific document.
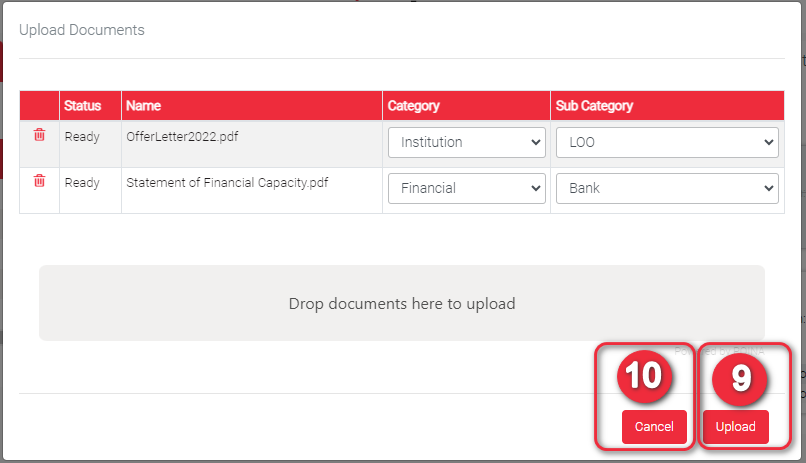
All the dragged documents will be displayed in the pop-up. Check if you have dragged the correct documents under the ‘Name’ column. The document name under this column has the same document name as to your computer/ device.
4
5
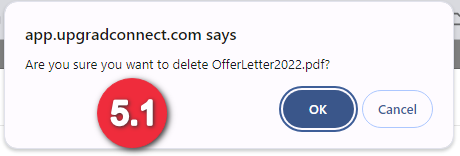
You can delete a document in the list in case you have dragged an incorrect one by clicking the trash bin icon.
Image 5.1 Click the trash bin and confirm by clicking OK. You may find some pop-ups that still look like this. We’re working on them to be consistent across GSP App. Thank you for your understanding.
‘Category’ is a mandatory field. You should select the Category of the document to which you think it fits well. The document categories that you can choose from are the following:
‘Sub Category’ will be enabled when you selected a ‘Category’. At this point, ‘Sub Category’ is not a mandatory field but it is advisable to select so you won’t forget to update. The picklist of ‘Sub Category’ depends on the selected ‘Category’.
Commission
Financial
Institution
Personal
Sponsor
Spouse
Visa
Other (Choose this if none of the choices seem fit to the categories)
6
Sub categories of ‘Commission‘ are the following
Invoice
Supporting Doc
COE
Other
Sub Categories of ‘Financial‘ are the following
Bank
Financial Declaration
Financial Martix
GTE
Loan
Other
Sub Categories of ‘Personal‘ are the following
Academic
Letter of Recommendation
Work
Proof of ID
Passport
OSHC
Marriage
Guardianship
ESOS
English
SARS
Other
Sub Categories of ‘Spouse‘ are the following:
Academic
English
Proof of ID
Work
Other
Sub Categories of ‘Institution‘ are the following:
Academic
Study Plan
SOP
Scholarship
Release Letter
Refund Form
Payment Advice
LOO
Late Enrolment
GTE
COE
Application
Agent
Advanced Standing
Other Acceptance
Other
Sub Categories of ‘Sponsor‘ are the following:
Income
Proof of ID
Relationship
Funds
Other
Sub Categories of ‘Other‘ is:
Other
Sub Categories of ‘VISA‘ are the following:
Visa Application
Visa Grant
Visa Refusal
Other
7
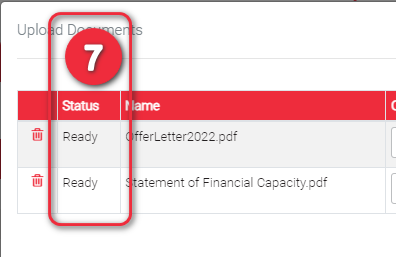
Notice that the ‘Status’ was changed from ‘No Category’ to ‘Ready’. This means that the document is ‘Ready’ to upload, that the Category which is a mandatory field has already been filled out.
If you forgot to include any document(s) at this point, you can still add in the list before you upload them all. It’s the same process as when you click the ‘+’ to add documents. Here you just need to drag the selected documents you want to add and select a ‘Category’.
8
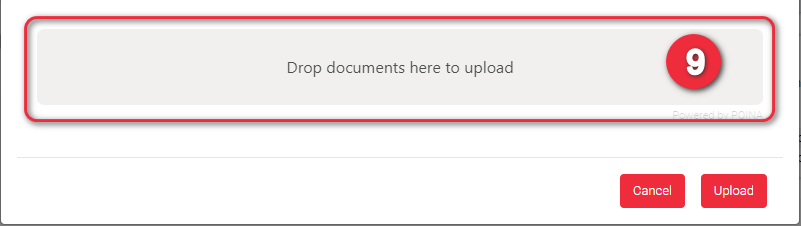
9
Click ‘Upload’ if you are happy with all the documents in your list. Notice that the ‘Status’ changes from ‘Ready’ to ‘Uploading…’ which means that the GSP App is in the process of uploading the document. Once successful, the ‘Status’ will be changed from ‘ Uploading…’ to ‘Uploaded’.
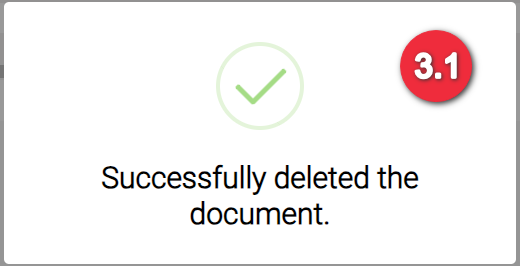
Image 9.1 After successful document upload, a notification will appear that will be removed by itself in about 5 seconds.
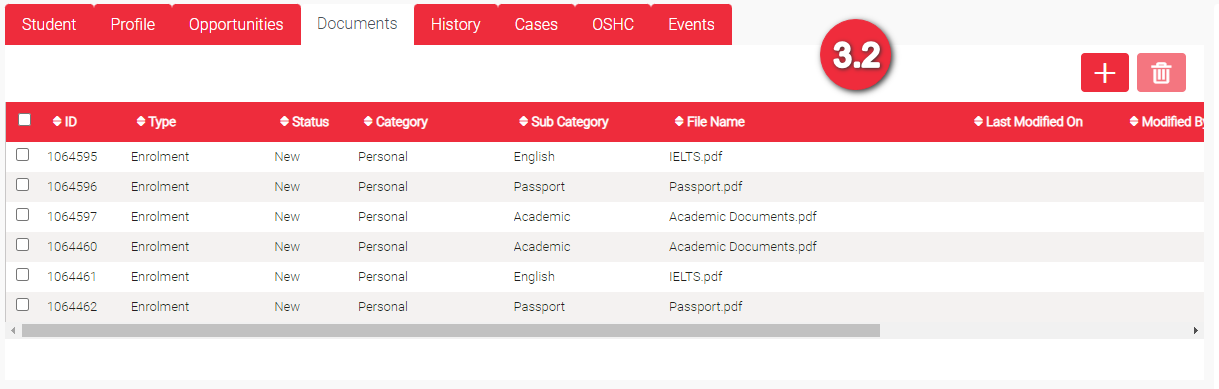
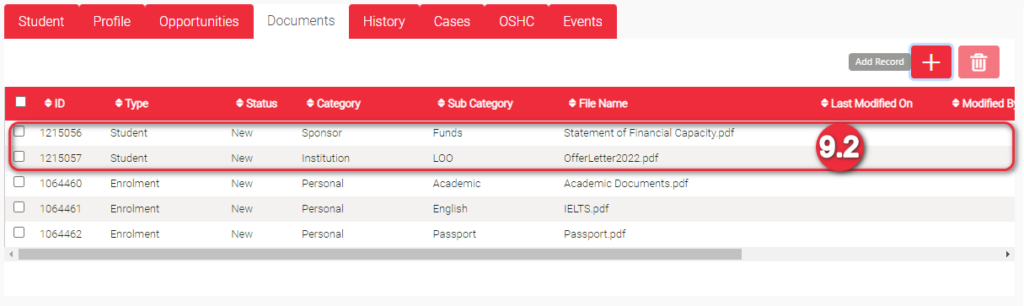
Image 9.2 You will then be redirected to document list. The latest uploaded documents are listed at the top most.
Click Cancel button if you do not want to continue uploading the document(s).
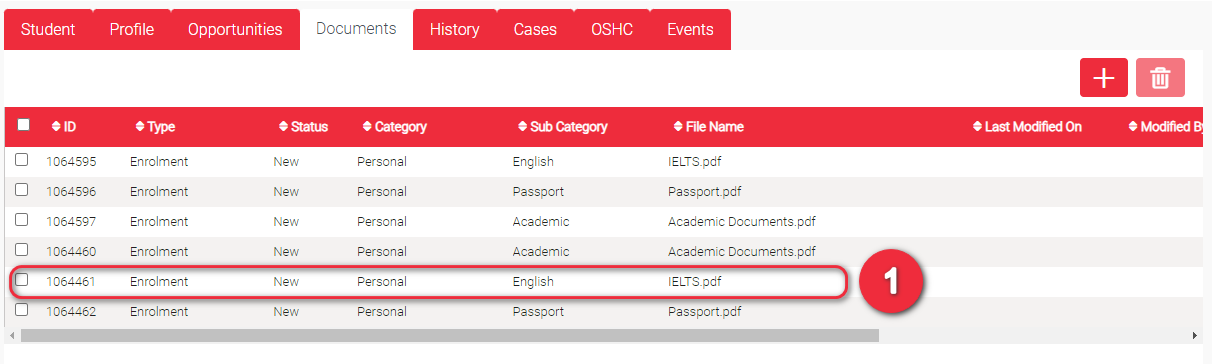
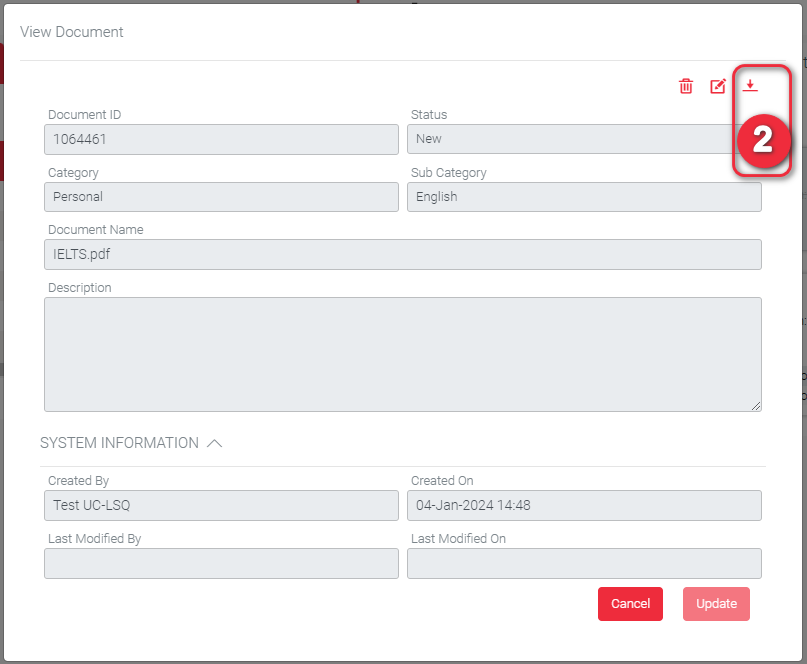
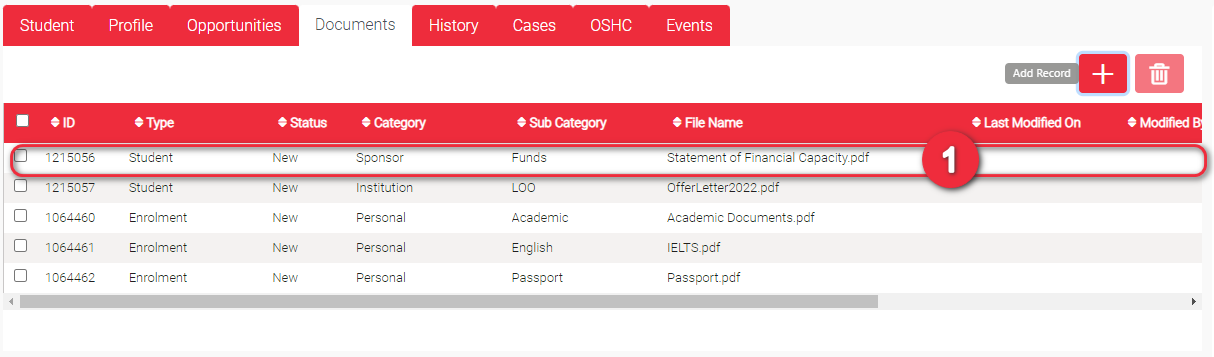
When you are in the Documents tab, find the file you want to update and click anywhere in its row.
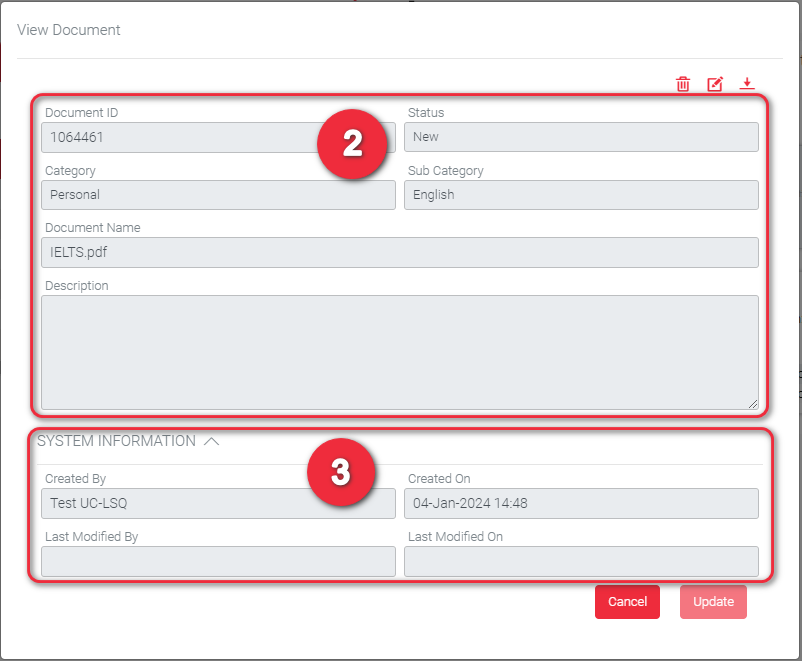
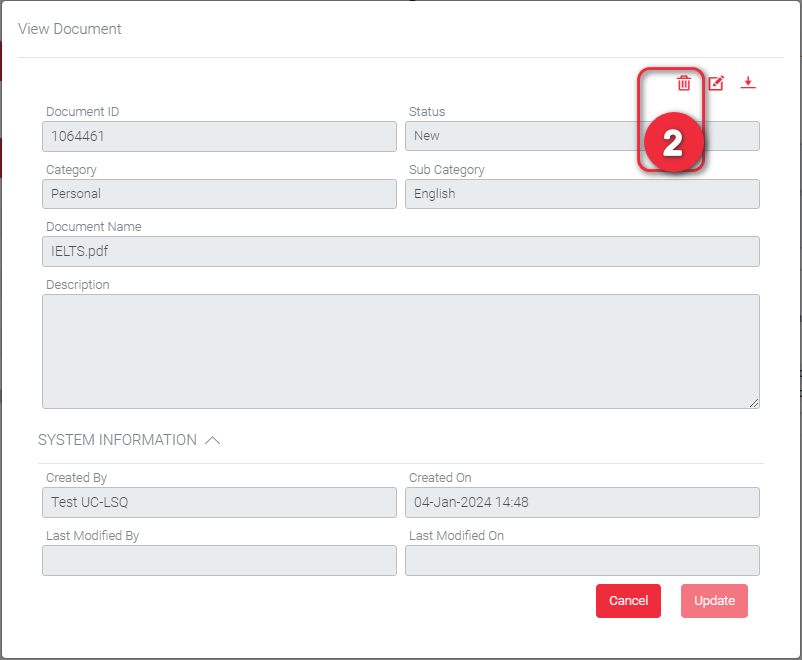
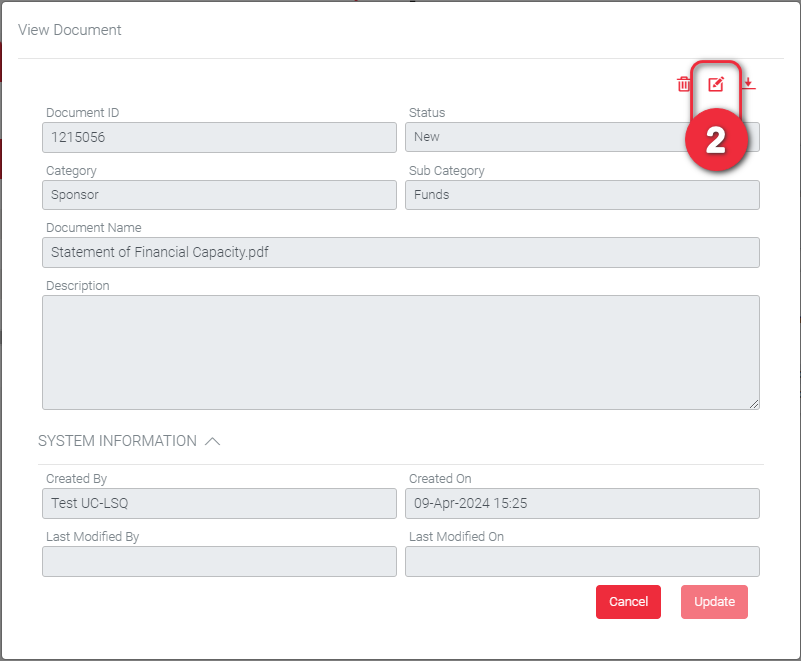
A pop-up will be displayed (view mode only) where you need to click the edit record icon (pencil pointing in a square) so you can edit some details that you are allowed to.
2
3
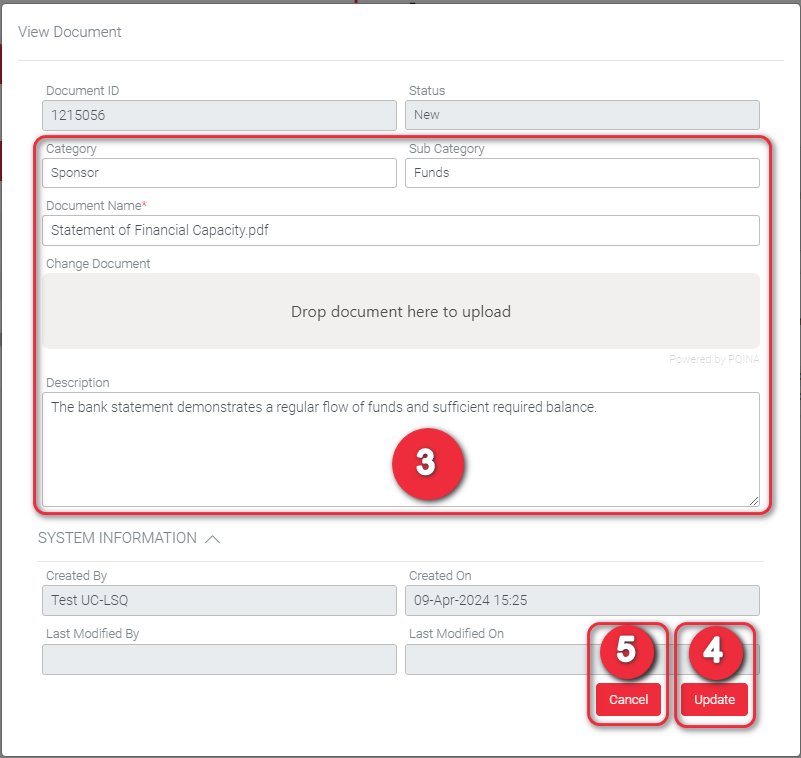
Edit mode look like the image below. You can edit white boxes. Note that you can only update details when the Status is New. When the Status is New, you can only edit the following details:
Category
Sub Category
Description
Click Update button to save your changes. You will then be redirected to the Documents List reflecting the saved changes.
4
5
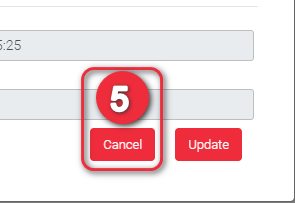
Click Cancel button if you do not want to save the changes you made or you just simply want to move out from the pop-up.